The Best Belt Sanding Tips And Techniques
So, you have just begun your journey with sanding, and you have the basics covered. You know what to do, but you still can’t get a satisfactory result even after all that hard work. The thing is, sanding is difficult. Even if you have the best sanding belts, you will need some extra help as a beginner.
Don’t worry! We are here for just that. We understand your struggles; therefore, the best belt sanding tips and techniques are below. We have divided these tips into two categories, so read on to learn more!
Tips for before pulling the trigger
Below is a list of tips that will help you out before you have pulled the trigger:
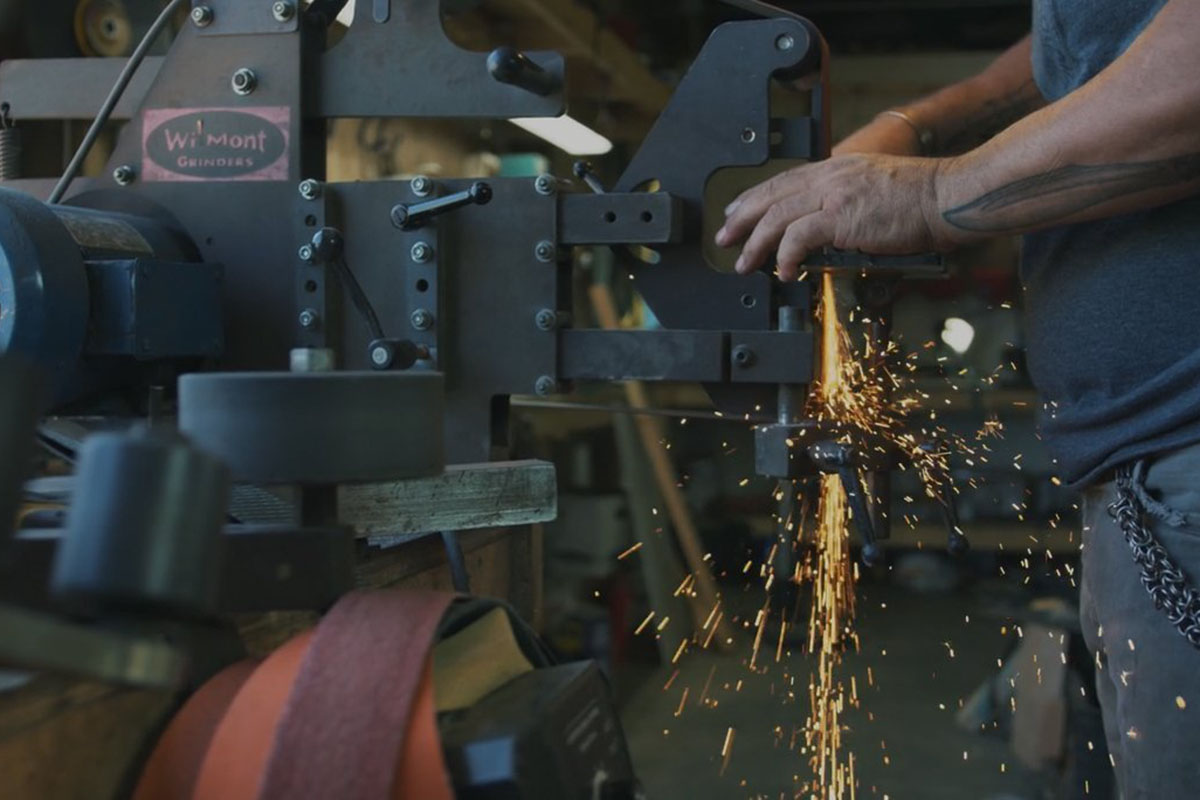
- Get the best tools
The results that you get from sanding are those that you pay for. Thus, it is recommended that you buy the best quality tools only. Many people believe that sanding only depends upon your skill; however, that is only a misconception.
- Use good sandpaper
As we mentioned above, the quality of your tools decides the outcome of the piece you are working on. Thus, it would help if you had good sandpaper. Moreover, good sandpaper can be used for a variety of reasons.
- The transition should be smooth
A common mistake many people make is going for a sharp platen transition. However, if the edge is sharp, it can cause a divot by pushing the sandpaper into the workplace. As a result, you will need more sanding or putty to fix the divot.
- Use dryer sheets
It is recommended that you use dryer sheets to reduce the static cling to your safety glasses. As a result, it will be easier for you to carry on with your work.
- Squiggle marks
While you are making the transition, make sure that you mark it. This will help indicate what has been sanded and what hasn’t been. Moreover, you will see where you have sanded and how much.
Tips for after pulling the trigger
Below are all the tips you will need after you have pulled the trigger:
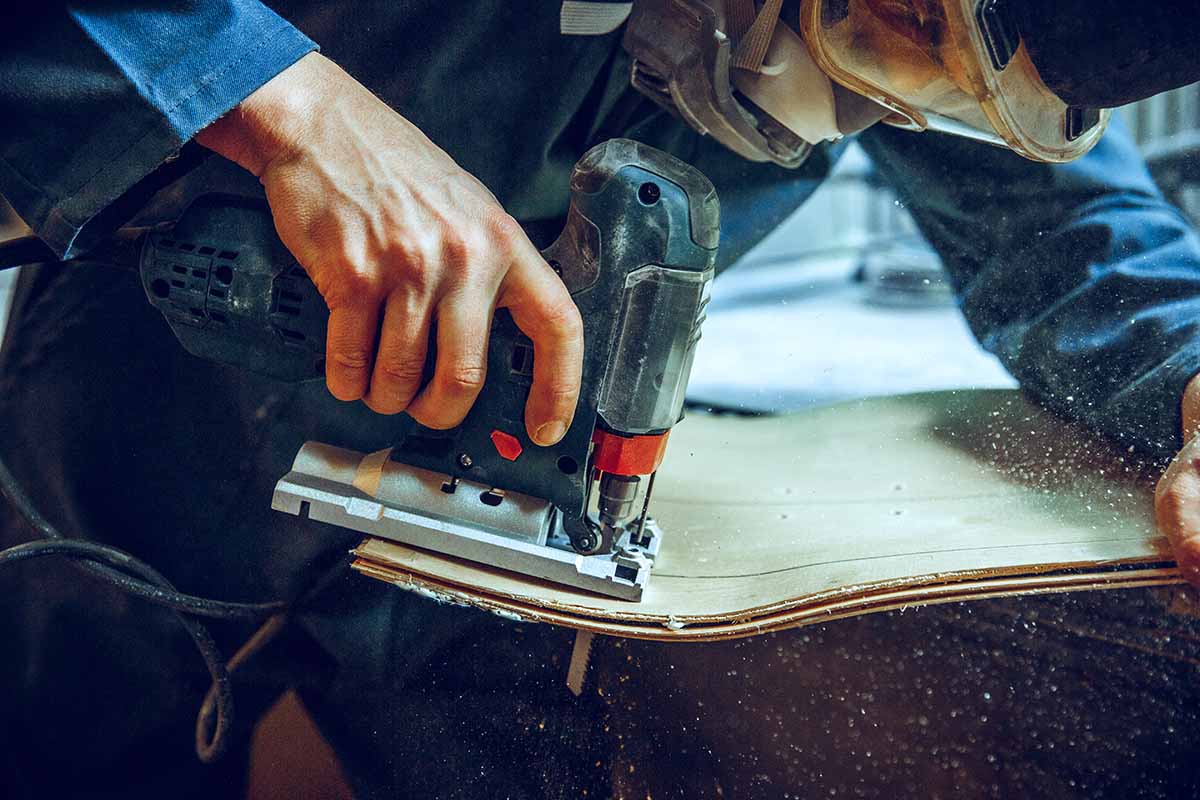
- Keep the sander moving
If you keep the belt sander moving, you will protect the sander from digging in. On the other hand, if you are tilting the sander from side to side, you will end up causing a divot.
- Slant the belt sander from a flat surface
When you need to transition, make sure that you begin from a flat surface and the sander towards the uneven surface. This makes the transition smooth and easy to work with.
- Use sideways diagonal strokes
Many people go for straight back and forward strokes: however, there is a better option that you can go for. Choose to cut sideways in diagonal strokes as it will cover more area.
Belt sanding tips: conclusion
That was all! Now you know how you can level up on your sanding game. Make sure that you follow the tips given above, and you will see yourself improving bit by bit.