How to Make Your Decorative Element for Unique Layouts
You can buy a new book and insert your pages, but it is nothing like creating your scrapbook from scratch. This is because making your DIY scrapbook is often a crafty and exciting experience.
Quality scrapbooking supplies from your nearby craft store can sometimes cost a lot, but there are always cheaper options. Creating your own decorative element for a unique layout is a creative process, but you need to learn certain steps. These steps will make the process stress-free and efficient.
Understanding Scrapbooking
Scrapbooking is a beloved hobby and a form of creative expression that involves arranging photographs, memorabilia, and other decorative elements visually appealingly. This is to create unique and personalized albums or pages. It’s a way to preserve and share memories, capture special moments, and tell stories through photos, journaling, and artistic design.
Scrapbooking allows you to create tangible keepsakes that can be passed down through generations, cherished by loved ones, and revisited with nostalgia. It’s a way to document;
- milestones;
- celebrations;
- ravels;
- everyday moments.
The great thing is that you are doing all these creatively and meaningfully. For example, during Christmas, you have a Christmas scrapbooking paper that will tell the story of how you spent Christmas. Here you can take gum photos and write things that you can resonate to in time to come.
But what exactly do DIY scrapbook supplies mean?
Well, DIY is an abbreviation for “Do It Yourself,” and it involves the carrying out of a task by oneself. It’s an activity of making or repairing things yourself, especially at home.
DIY scrapbook supplies are products and tools that help scrapbookers in their creative process. Craft Direct and other online stores offer scrapping supplies like adhesives, scrapbooking stickers, and scrapbooking papers.
So, gone are the days where you have to take the stress of going from one physical shop to another in search of these scrapbook supplies. If you have gotten the best DIY scrapbook supplies for crafting projects, it’s time to hit the ground running.
How to Make Your Own Decorative Element
Scrapbooking used to be a hobby for bored homemakers and retirees. But it has now transformed into a multi-billion dollar, stylish, and fascinating industry. However, making your own decorative element for scrapbooking is a fun and creative way to personalize your scrapbook pages. But just before we go into this, let us look into some scrapbooking materials that you may need.
Scrapbooking Materials You Need to Make Your Own Decorative Element
You must already be used to scrapbooking tools for those who have been scrapbooking papers. However, if you are a beginner, here are a few tools and supplies you must invest in.
| Equipment or Tools | Scrapbook Supplies |
| Scissors | Paper (Plain colored or patterned) |
| Paper Trimmer | Cardstock (12″ x 12″ or 8.5″ x 11″) |
| Adhesives (liquid tape, foam tape, glue tape, double-sided Adhesives. | Embellishments and Ephemera |
| Journaling pen (fine liner pens, gel pens) | Stencils and Embossing folders (optional) |
| Die cutting machine (optional) | Stamp and Die sets |
| Embossing/Debossing Machine (optional) | Watercolor, inks, alcohol markers, and other coloring tools (optional) |
Now that you’ve been intimated with all you need to know about scrapbooking and scrapping supplies, here are 5 easy steps on how to make your own decorative element for a unique scrapbook layout:
Choose Your Photos
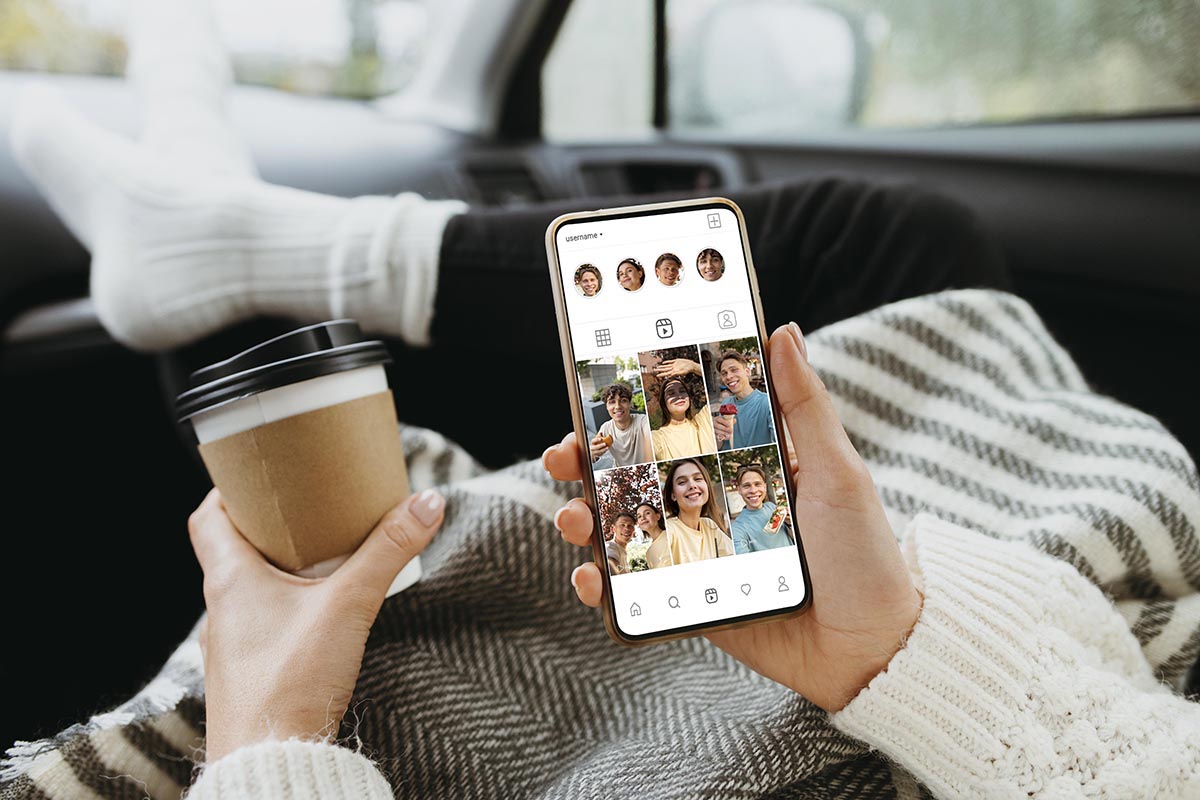
This is quite an obvious thing to do. Scrapbooking’s main goal is to use pictures and other artifacts to preserve memories. Print out those images from your smartphone and begin sorting them.
Essential Tip: You should develop a personal organizational style. You can arrange your images by month, year, or occasion. Alternatively, you can arrange it in person, on a holiday, or both. To make it simple for you to choose the ones you want to use, organizing them into folders on your computer, tablet, or phone is a good idea.
After you’ve chosen your photographs, pick the most suitable one to serve as your main point. Start with 1 or 2 photos if you’re just creating a page. It is important to note that the size of your layout affects this. 4 tiny images can fit on a 12″ x 12″ layout. However, if you utilize fewer images, there won’t be room for other decorations and accessories.
Select a Color or Theme
After selecting your photographs, you can now choose which color (or colors) you want to use for your layout. You can also decide on a theme, such as florals, monochromatic, stripes, geometric, nature, whimsical, or charming.
Essential Tip: Pick a few hues from the photo(s) you have picked to determine which color(s) will work best for your page. On your page, everything will be in harmony, and there won’t be a clash of colors.
Choosing a presentation or style at this stage is a great idea. You can attempt the following scrapbooking styles:
- Layout of 12″ x 12″;
- Journal layout;
- 8.5″ x 11″;
- Project Life;
- Mini scrapbook album;
- Planner;
- Create a Layout or Design.
This is a crucial stage in building your page. Don’t let the abundance of innovative scrapbooking ideas for beginners overwhelm you. Feel free to limit yourself to a few layouts or designs at first if you’re just getting started.
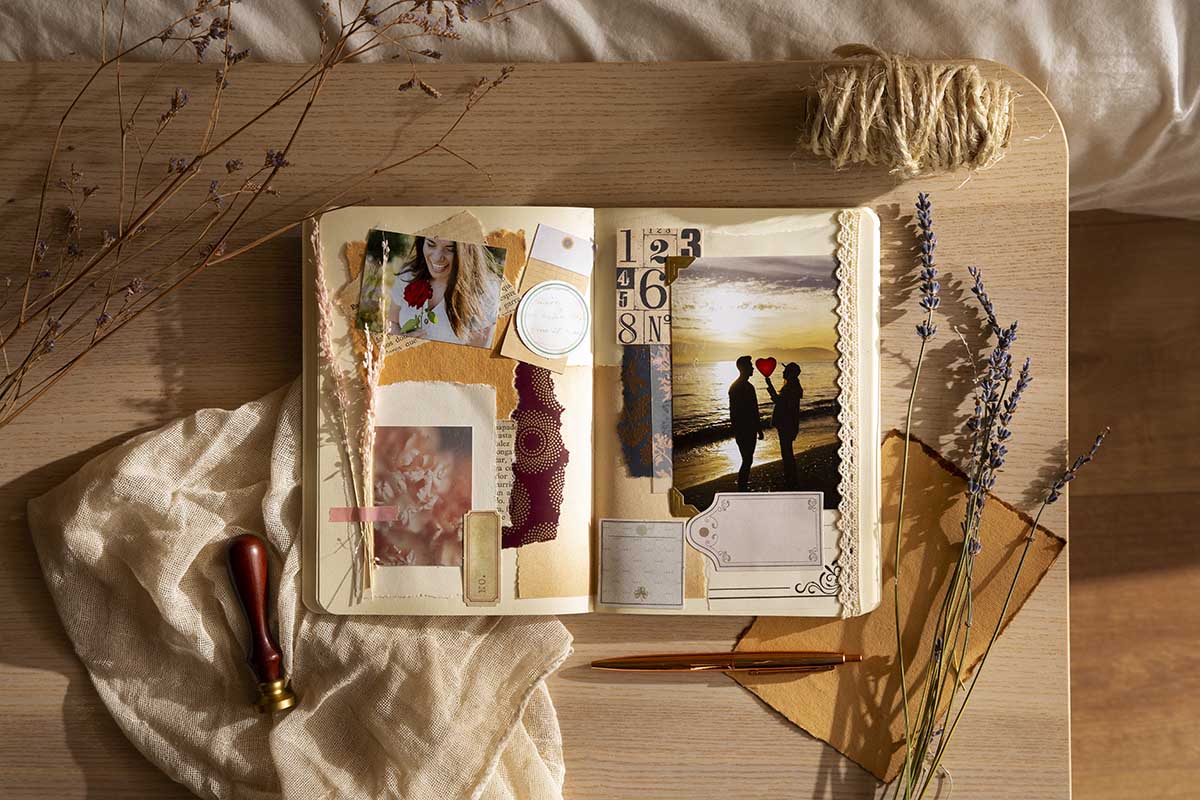
Create a Backdrop
There are a few inventive ways to set up your page. Although, some scrapbookers like a pure, white background that is clean and uncomplicated.
- Use papers with patterns.
- Blend the background’s colors with ink.
- Do a backdrop stamp.
- Use 3D dies or stamps with multiple layers to provide some depth.
- Try adding designs to it by embossing or debossing.
It’s crucial to stockpile scrapbooking supplies that you can use right away for your background. A variety of scrapbooking tools and accessories can be found in several online stores or close to you.
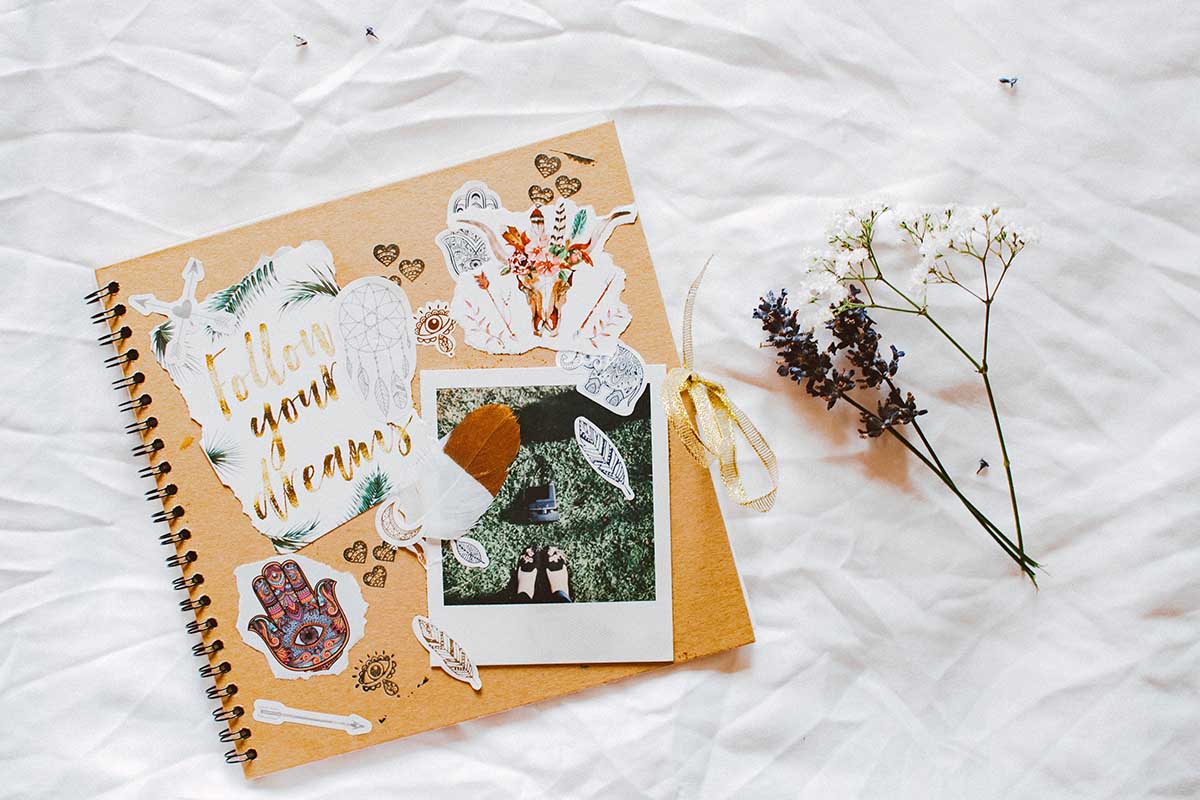
Add Some Finishing Touches
Add your decorations, embellishments, and journaling as finishing touches! This is an enjoyable phase since you may use your imagination and creativity. You can rearrange your pieces, and combine scrapbook stickers and die cuts. You can add glitz and shine and even go above and beyond by journaling or calligraphy.
There are no restrictions on this portion. Just make sure it still adheres to your theme and color scheme. You don’t want to overdo the embellishments and then discover that your background and photographs don’t match.
Personalized scrapbook layouts: conclusion
Making your scrapbook layout will be more comfortable and less frightening once you have mastered these five simple steps. Remember to continue honing your craft-making skills and make an effort to discover something new occasionally.
Sticking to the fundamentals is great, but don’t allow that to stop you from using your imagination and creativity! You can also monetize your craft-making skills by making scrapbooks for others. Those who would like a scrapbook but are too busy to assemble it themselves can hire you as a professional scrapbooking business to make one for them.
FAQs
Can I incorporate journaling into my scrapbooking projects?
Journaling is a common element in scrapbooking and can add a personal touch to your layouts. You can include hand-written or typed journaling to share.
How can I protect my scrapbook pages from damage?
To protect your scrapbook pages from damage, you can use acid-free and archival-quality materials such as papers, adhesives, and embellishments. You can also use page protectors or clear sleeves to cover your completed layouts and prevent them from getting damaged by dust, dirt, or moisture. Also, storing your scrapbook albums in a cool, dry, and dark place can help preserve them for years.
Can I use non-traditional materials in my scrapbooking projects?
One of the joys of scrapbooking is the ability to experiment with different materials and techniques. Non-traditional materials such as fabric, wood, metal, plastic, and more can be used to add unique textures, dimensions, and interests to your layouts. It’s all about exploring your creativity and finding what works best for your style and preferences.