How to Practice Suturing at Home if You Are Just Starting Out
Key Points
Start with safe materials like suture pads, fruit, or pig feet to legally and effectively build basic hand skills at home.
Use simple techniques like the interrupted stitch and focus on precision before adding speed or complexity.
Track your progress through photos, videos, and a practice journal to see improvement and stay motivated.
Suturing can feel overwhelming when you’re just starting out. Your hands shake, the needle slips, and the thread gets tangled.
But every medical professional has been there.
They all started by practicing on fake skin. Their first stitches weren’t perfect either.
Over time, they built steady hands and confidence through practice.
This article will help you get started at home. You’ll learn what tools to buy, how to set up your space, and which simple techniques to try first.
Whether you’re preparing for school, work, or just learning a new skill, this guide lays the groundwork.
How to Practice Suturing Safely and Legally at Home
Before you start practicing, it’s important to understand the basics. Suturing at home is legal as long as you use safe, artificial materials. You’re not doing real medical work—you’re just building hand skills.
Good practice surfaces include suture pads, animal skin from the butcher, or even fruit. These let you work on technique without any legal or ethical issues. Never try to stitch real wounds or practice on live animals.
Equally important is prioritizing safety. Always use clean tools and treat your practice materials as if they were real skin. Doing so helps you develop safe, professional habits that will serve you well in future medical environments.
As you begin, keep your practice straightforward.
Focus on mastering basic stitches and developing steady hand control.
More advanced procedures should be reserved for formal training under professional supervision.
What to Use and Where to Practice Safe Suturing
Getting started doesn’t require expensive equipment. A few essential tools will serve you well as you develop your skills.
Basic Supplies
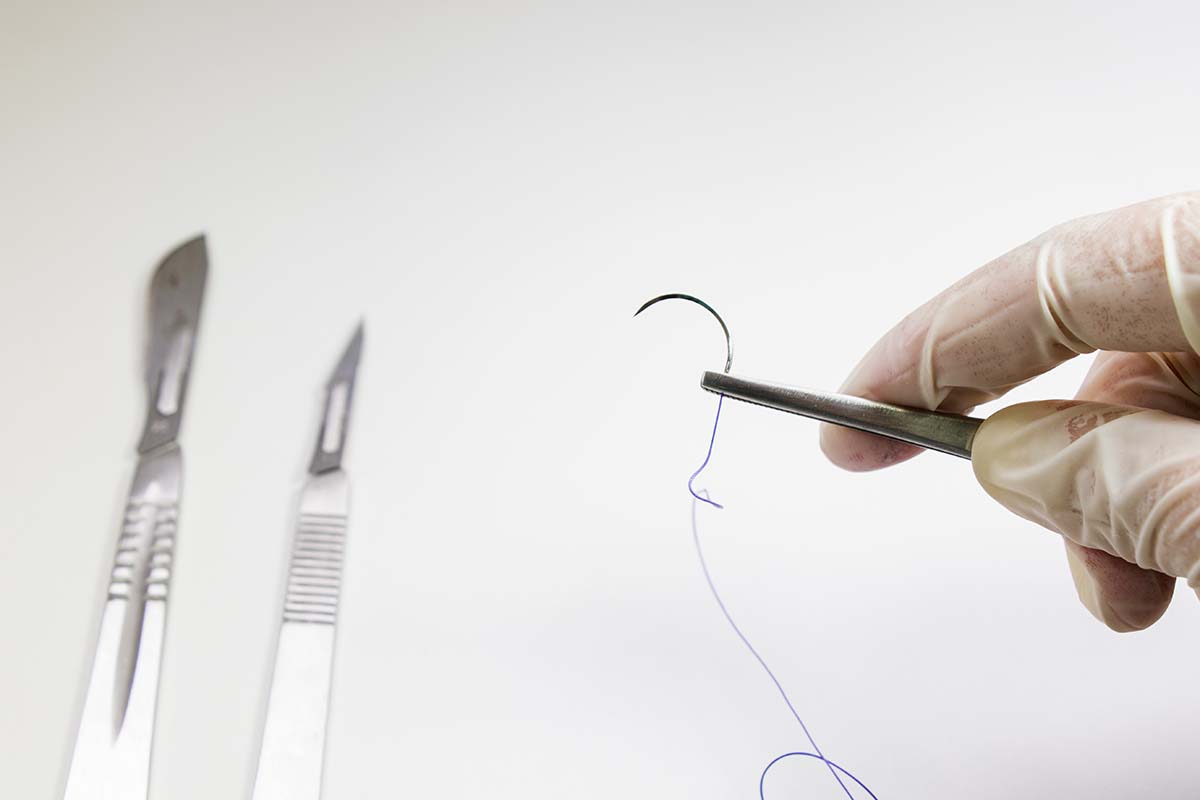
Your essential toolkit includes a suture pad, needle driver, forceps, scissors, gloves, and suture thread.
Suture pads provide the most realistic practice surface and come in various skin tones and thicknesses. Needle drivers give you proper grip control. Forceps help manipulate tissue. Scissors ensure clean cuts.
For beginners looking for a reliable all-in-one option, the Artagia Med Suture Kit is a great choice. It includes everything you need to begin practicing at home with safe, high-quality materials.
Optional Tools
While full suturing kits offer convenience, they aren’t essential for beginners. In fact, several household alternatives can work surprisingly well for early practice.
For example, bananas provide an excellent surface for basic stitching, making them ideal for developing hand control.
If you’re exploring how to practice suturing at home, chicken skin from the grocery store is a great place to start for realistic texture.
Want to challenge yourself even more?
Try pig feet—their curved surfaces help you practice navigating more complex angles.
Setup Tips
Choose a clean, flat surface with good lighting. A kitchen table usually works well. To improve visibility, place a bright lamp nearby to reduce shadows.
Once your space is set, organize your tools in a small tray or on a towel.
This setup helps you stay focused and work more efficiently.
Good lighting not only makes it easier to see but also prevents eye strain during longer sessions.
Basic Suturing Techniques to Practice
Before jumping into advanced techniques, it’s important to build a strong foundation with basic suturing methods. Below are key techniques to practice as your skills improve:
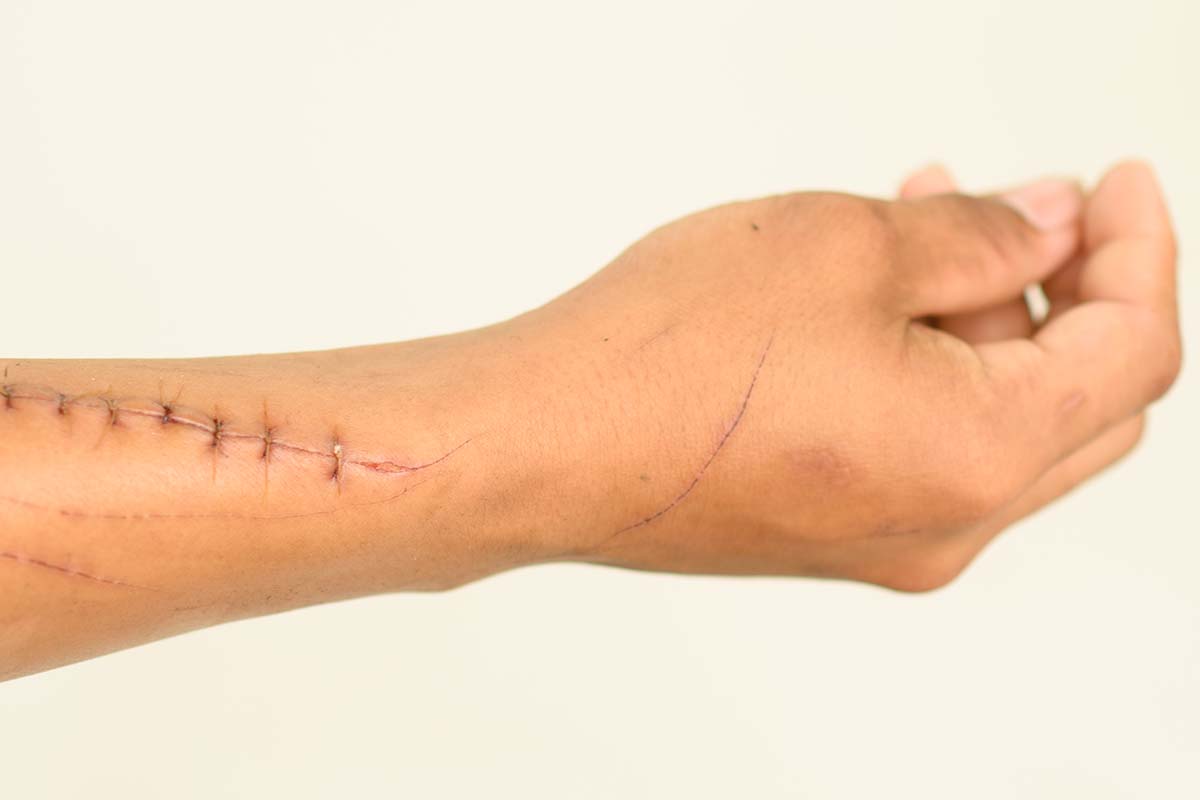
- Simple Interrupted Sutures: Begin with this essential technique. Each stitch is tied off individually, so it’s easy to correct mistakes without disrupting the rest. It’s the most common method used in clinical settings.
- Running (Continuous) Sutures: After mastering the basics, try this method. It uses a single continuous thread and works well for long incisions, offering faster closure.
- Vertical Mattress Sutures: This technique offers strong wound support and helps evert wound edges. It’s a good next step when you’ve developed better precision and control.
- Horizontal Mattress Sutures: Another advanced stitch that reinforces wound edges under tension. Use this once you’re confident in your hand positioning and stitch placement.
To learn faster, watch tutorial videos and look at diagrams. But the most important thing is to practice regularly. Skills improve with repetition.
Step-by-Step Process of How to Practice Suturing
Consistent practice routine builds skills faster than sporadic intense sessions. Follow these steps every time you practice.
Step 1: Clean your hands thoroughly and put on gloves. This develops proper hygiene habits. Set up your suture kit and arrange your tools within easy reach.
Step 2: Load your needle driver with the needle at a 90-degree angle to the handles. Proper loading prevents the needle from slipping during use.
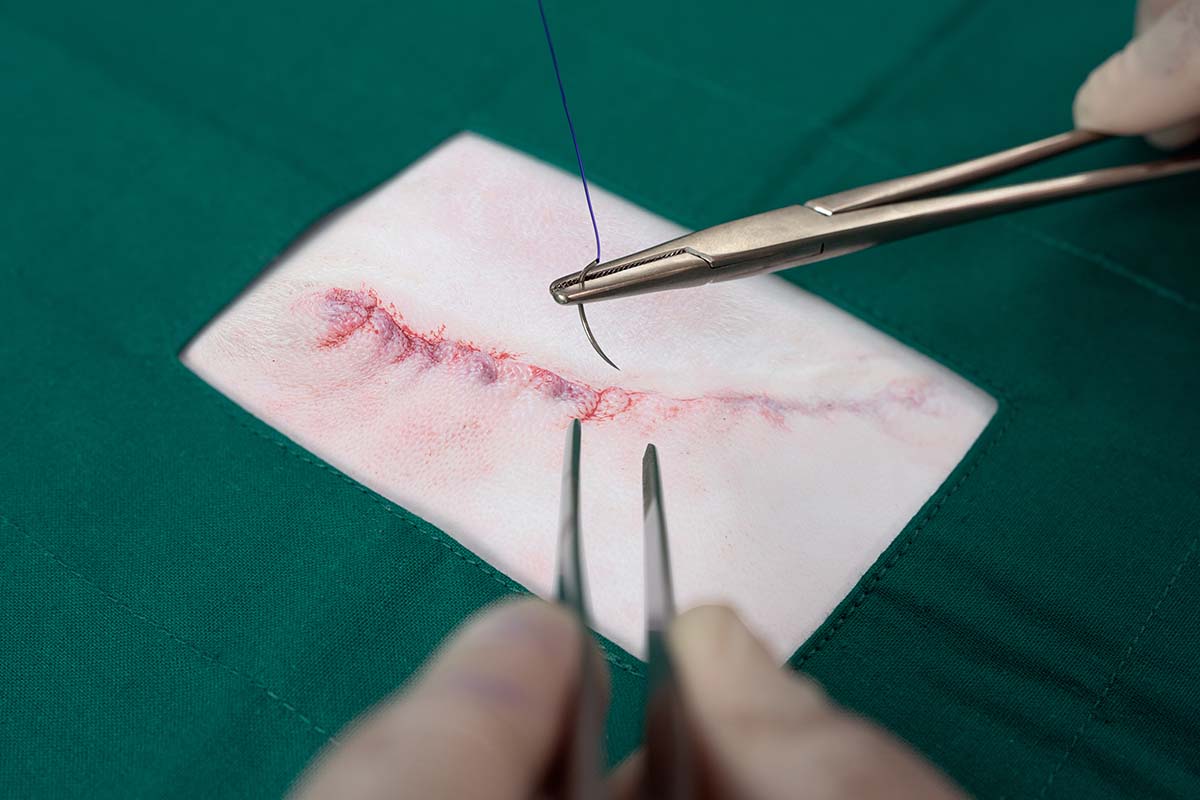
Step 3: Enter your practice material at the proper angle – usually 90 degrees to the surface. Drive the needle through in one smooth motion.
Step 4: Exit at the same angle on the opposite side of your intended stitch line. Pull the needle through completely with steady pressure.
Step 5: Begin your knot by wrapping the thread around your needle driver. Grab the short end with your forceps and pull through to create your first throw.
Step 6: Add a second throw in the opposite direction. This creates a square knot that won’t slip. Add a third throw for security.
Step 7: Trim your thread ends to about 3mm length using scissors. Clean cuts prevent fraying and look professional.
Practice this sequence until it becomes automatic. Speed comes naturally with repetition – don’t rush the learning process.
Tips, Mistakes, and Tracking Progress
Improvement comes from identifying what works and fixing what doesn’t. These strategies accelerate your learning curve.
Tips to Improve Suturing
Practice knot tying separately from full suturing. Spend time just making perfect knots until your fingers move without conscious thought.
Start slowly and focus on precision. Speed develops naturally as your technique improves.
Record yourself practicing. Video reveals mistakes you can’t see while concentrating on the task. Review your recordings to spot areas for improvement.
Avoid These Mistakes
Wrong needle angles create uneven stitches that won’t hold properly. Too much tension tears your practice material and would damage real tissue. Too little tension leaves gaps that don’t close wounds effectively.
Rushing leads to sloppy technique. Take time to position each stitch correctly. Skipping steps creates bad habits that become harder to fix later.
Track Your Progress
Take photos of your practice sessions. Compare early attempts to current work. Visual progress motivates continued practice and shows improvement you might not notice day-to-day.
Keep a practice journal noting what techniques you worked on and areas that need improvement.
Join online suturing communities for feedback and encouragement from other learners.
Final Thoughts
Learning to suture at home is a smart first step. It helps you build steady hands and grow more confident. You don’t need fancy equipment—just basic tools and a safe space to practice.
Your first few stitches might be shaky or uneven. That’s completely normal. Every skilled professional started out the same way. What matters is showing up and practicing often.
As you improve, you’ll feel more prepared for real clinical training. Learning how to practice suturing at home builds a strong foundation, making future challenges feel easier. Keep it simple, stay consistent, and trust your progress.