DIY Golf Simulator on a Budget: Here’s What you Need to Know
✨ Key Points
- Start with an indoor practice net and gradually add an impact screen, enclosure, and projector.
- A launch monitor tracks ball speed, distance, direction, and other essential performance data.
- Budget-friendly equipment, such as the Garmin R10, can provide useful features without the premium price.
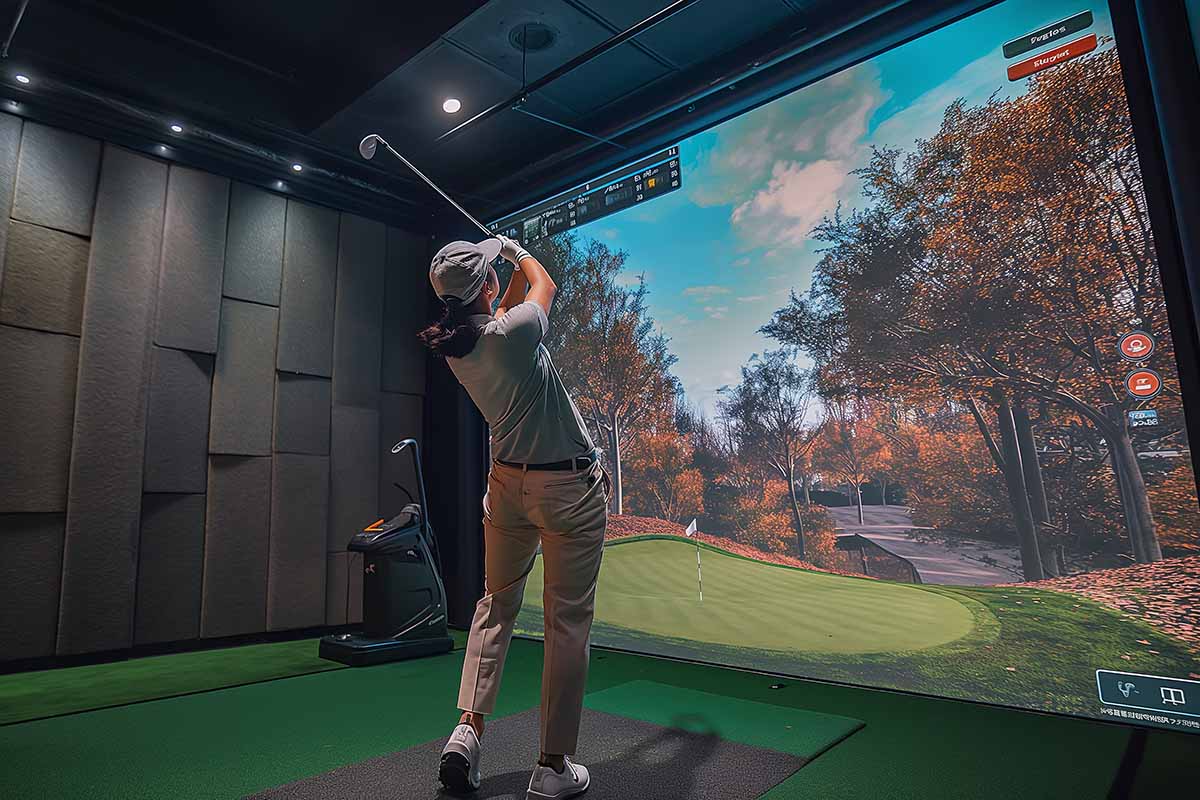
Golf simulators are a great and inexpensive way to learn how to improve your game.
Being able to play some challenging rounds of golf without setting foot on an actual golf course gives you the perfect opportunity to sharpen your skills without spending huge sums of money.
You will be able to find a range of suitable golf courses near you where you can enjoy a simulated experience that is very realistic and fun to play.
Without question, using a professional golf simulator is the best way to learn how to play better, although there’s also a DIY option to consider if you are on a very tight budget.
A combination of a professional golf simulator and your own version for extra practice is probably the ideal scenario.
Here’s an overview of how to create your own DIY golf simulator to play at home.
Start slowly
You don’t have to create a full-blown home golf simulator from day one.
The smart approach would be to add to your setup over a period of time rather than attempting to do everything all at once.
For instance, a good starting point would be to install an indoor practice net.
You won’t have a screen or image to work with at this point, but you will be hitting real balls and getting some useful practice in.
The next step would be to install a hanging golf impact screen, followed by a golf enclosure that takes your homemade simulator to the next level.
Tech kit you will need
A fundamental piece of equipment you will need to construct your DIY golf simulator will be a launch monitor.
This is designed to track the flight of the ball and give you all the metrics needed to see how far the ball went and which direction it traveled.
One of the best value launch monitors around is made by Garmin.
Its R10 product performs as well as rival offerings that can cost as much as three or four times the price.
You should be able to get the R10 for around $700, or less.
This compares favorably to the $2K+ you can pay for other brands that don’t deliver much more, especially when you consider the price difference.
Make sure you hang your impact screen correctly
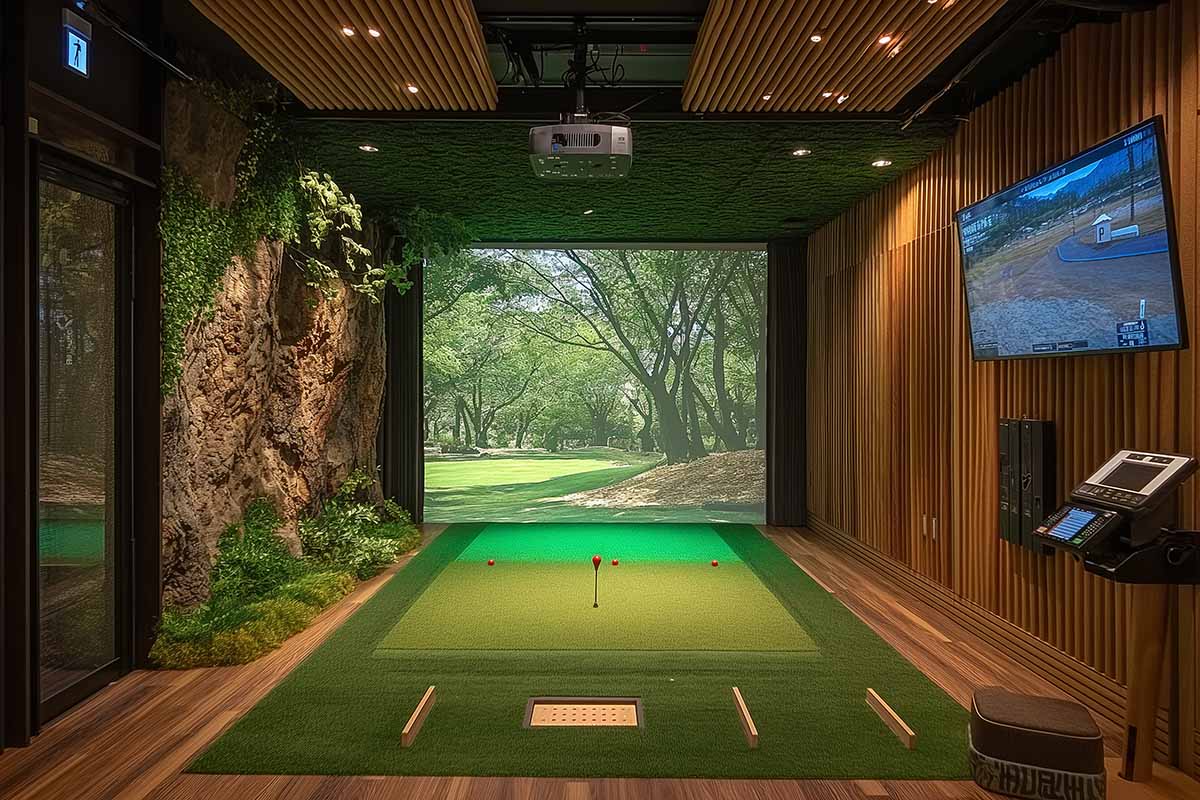
When you get to the point of installing your impact screen it is essential to measure up the space accurately and have everything you need to secure it properly.
You will need to construct a frame out of wood or metal. Using a wood frame is perfectly acceptable.
A simple wall-mounted frame still allows you to apply the right amount of tension for when you start taking shots at the screen.
A metal frame is arguably more aesthetically pleasing and gives you a more professional finish.
Its extra rigidity allows you to be sure that the screen is properly secure.
Be careful with the positioning of your projector
Last but not least, it’s important to remember that your projector needs to be positioned where it has a good angle of projection but doesn’t impair your ability to take a full swing.
Think about your swing arc before finalizing the location of your projector.
Installing your DIY golf simulator is a great project to have a go at.
The end result is a useful way to practice your golf swing at home.
It won’t match the quality and feel of a professional golf simulator, so it makes sense to find a simulator option near you which you can use in addition to some home practice.