Mastering the Diamond Painting Pen: A Fun, Relaxing Hobby for Modern Creators
Key Points
- A diamond painting pen is your key to stress-free creativity—it turns tiny beads into stunning mosaic art.
- Start small, apply wax carefully, and organize your space for a smooth and satisfying crafting experience.
- Always buy from reputable sources to avoid poor-quality adhesive or missing pieces.
Last week, while scrolling through Amazon, I stumbled upon a diamond painting kit that stopped me mid-scroll—full of colors, sparkles, and all the meditative joy I didn’t know I needed.
I ordered it on a whim, and let me tell you: it’s become my latest obsession.
Diamond painting isn’t just another arts-and-crafts trend—it’s a legit form of mindfulness that lets you zone out, relax, and still feel like you’re creating something beautiful.
And if you’re looking to try it, learning how to use a diamond painting pen is your first step to success.
Best of all? You can find some amazing beginner-friendly kits on Amazon.
Just make sure to get yours from a reputable supplier to avoid issues like missing pieces or poor-quality canvases. (Trust me—been there.)
This guide will walk you through everything you need to know about using a diamond painting pen, including some real-life tips, trending use cases (hello, DIY gallery wall), and what to watch out for.
What Is a Diamond Painting Pen?

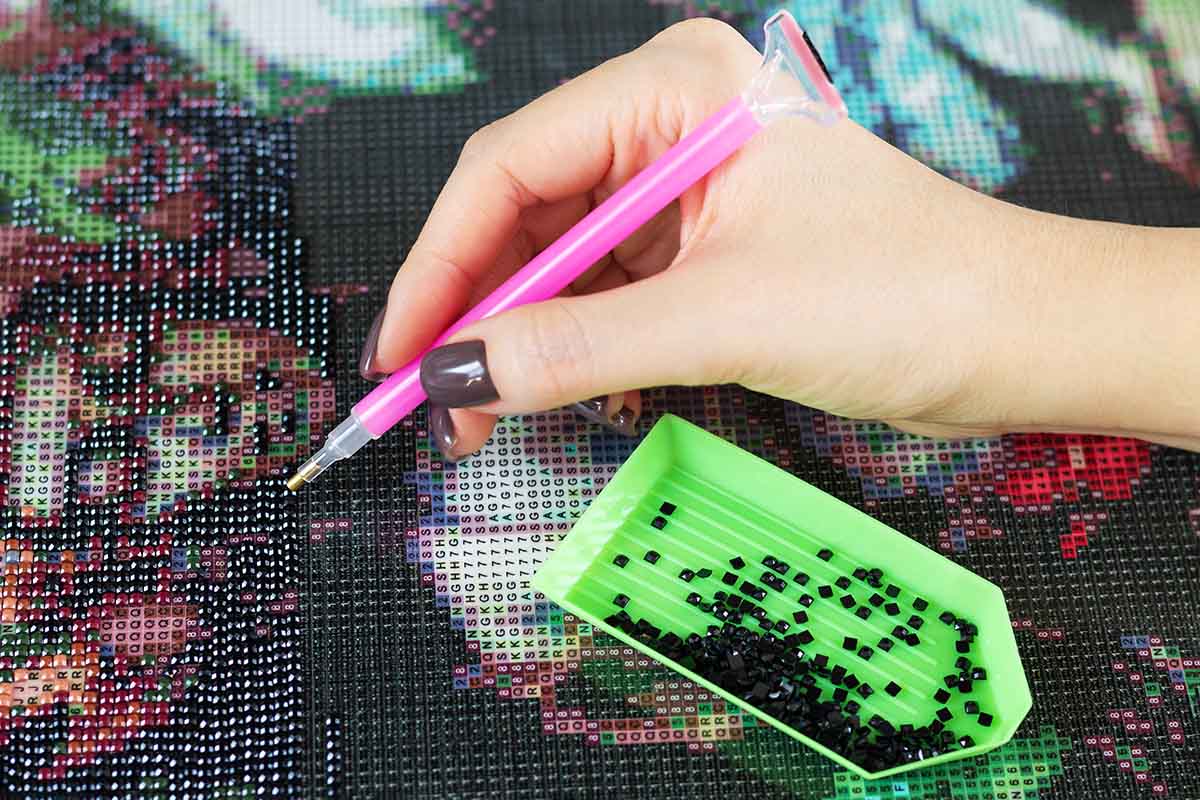
Let’s start with the basics. A diamond painting pen is the primary tool you’ll use to pick up and place diamond drills (tiny resin “gems”) onto a sticky, pre-printed canvas.
Think of it like a stylus for art: lightweight, simple, and surprisingly powerful when paired with a tray, wax, and a little bit of patience.
If you’re just starting out, look for kits that include multiple pen heads—some have multi-placer ends so you can drop 3–5 gems at once for faster progress.
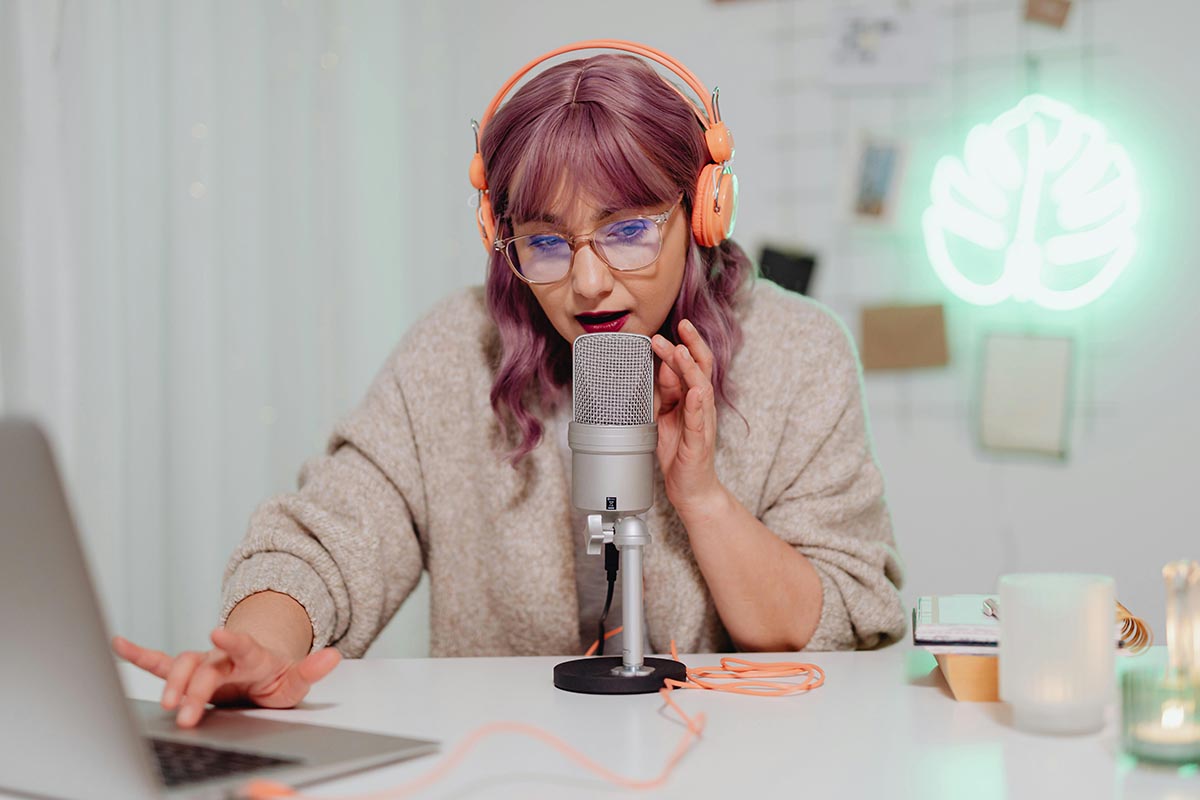
Why People Are Obsessed with Diamond Painting Right Now
From TikTok trends to Instagram reels, diamond painting is having a serious moment—and for good reason:
It’s therapeutic. Repetitive hand movement? Check. Visual progress? Check. Low stakes, high reward? Check.
It’s beginner-friendly. No art school needed—just a steady hand and some wax.
It’s screen-free. In a world that lives online, this is a welcome break.
Even celebs and wellness influencers like Kacey Musgraves and Shay Mitchell have shown off their paint-by-gem setups on social media. And why not? It’s a relaxing, offline hobby that fits into any lifestyle.
Step-by-Step: How to Use a Diamond Painting Pen Like a Pro
Let’s break it down into bite-sized steps:
1. Unbox and Lay Out Your Materials
When your kit arrives, make space on a clean, flat surface. Inside, you should find:
The printed adhesive canvas;
Packs of colored diamond drills;
A small tray;
Pink wax (in a square or circle;)
Your diamond painting pen.
Want to make the process smoother? Grab a pair of tweezers and some small labeled containers for organizing the drills. You’ll thank yourself later.
2. Pour Out the Diamonds
Only pour one color at a time into the tray—less is more here. Gently shake the tray back and forth to get the diamonds right-side-up.
This is oddly satisfying, and trust me, once you start, it’s easy to get lost in the rhythm.
3. Wax Up Your Pen
Here’s where the magic happens. Press the tip of your pen into the wax a few times until it picks up a bit of that sticky goodness.
Not too much—just enough to let the diamonds stick temporarily until you place them.
Too much wax? You might gunk up the adhesive on the canvas. Too little? The drills won’t pick up. You’ll get the feel for it after 5 minutes, promise.
4. Peel Back the Canvas
Your canvas will have a protective plastic film covering the sticky part. Don’t remove the whole thing—just peel back a small section where you’re working.
That way, the rest of your canvas stays clean and sticky for later.
5. Place Your Diamonds
Now the fun part! Press the pen tip (loaded with wax) onto a diamond, then press it onto the matching symbol on the canvas.
It’s like paint-by-numbers, but shinier.
Start with the easier areas and work your way into more detailed sections. And hey, if a drill is crooked? Just nudge it with tweezers or the flat end of your pen.
Extra Tips for a Great Diamond Painting Experience

✔ Use a light pad underneath the canvas for better visibility;
✔ Buy a multi-placer pen head if you’re working on large color blocks;
✔ Always cover finished areas with the film if you need to take a break;
✔ Keep your diamonds in labeled containers or small jars.
And most importantly—don’t stress! This isn’t about perfection. It’s about enjoying the process.
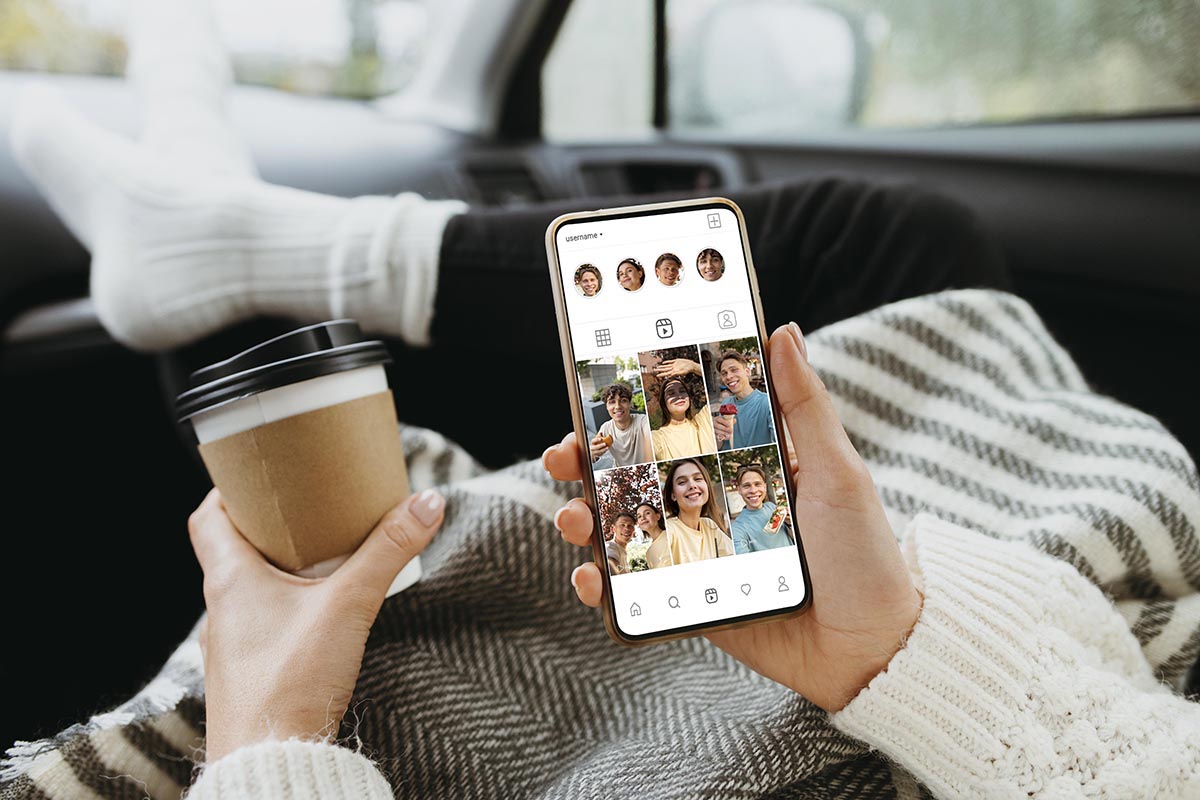
Real-Life Examples: Where to Use Your Diamond Art
Diamond paintings aren’t just crafts you forget in a drawer. Here’s where you can use or gift them:
DIY home decor – Frame your finished work for a glam gallery wall.
Gifts – Custom kits with family photos make incredible, heartfelt gifts.
Vision boards – Pick motivational designs and incorporate them into your workspace.
Stress relief – Pair with a podcast or lo-fi beats for a cozy creative evening.
Best Kits for Beginners
If you’re shopping, here are some great kits worth checking out (available on Amazon):
MOSAIC by Numbers Starter Set – Great for beginners, includes extra wax.
Craft Ease Premium Kits – Celebrity collab designs and vibrant colors.
Diamond Dotz Landscape Collection – For those who want something calming and scenic.
Remember, it’s best to purchase your kit from a reputable supplier to ensure quality materials and accurate templates.
If you’ve ever painted something before, nothing hits the spot better than coloring within the lines.