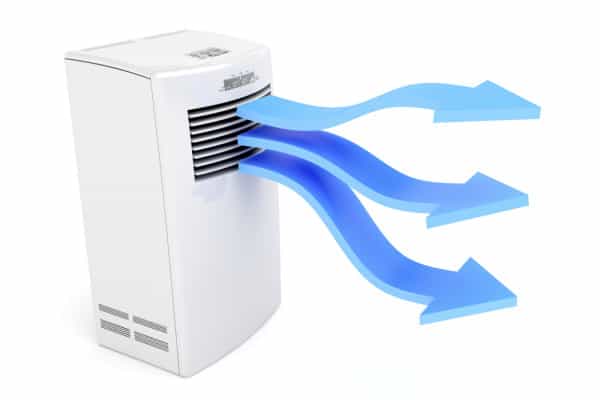
How To Install A Portable Air Conditioner
Hot summer days approach, and if you don’t have the air conditioning system to deal with it, you may dread the sweaty months ahead. If it’s too expensive or impractical to use a complete air conditioning system (or you’re renting and can’t install one), then a portable unit is a lifesaver in summer temperatures.
Provided here is a step-by-step guide on installing the portable air conditioner.
Note: Read through the installation guide that accompanies your portable unit thoroughly before getting started. The instructions here are for general installation and should be universal, but have the manufacturer’s guide with you for any stages specific to that unit.
How To Install A Portable Air Conditioner: Check Your Kit
Before getting started, make sure your air conditioner has its exhaust hose in good condition. You also want to check your window venting kit to ensure all the brackets, connectors, and adaptors are accounted for.
You should ideally measure the window before purchasing your kit so that you don’t hit the snag of the plate not fitting.
Pick The Right Window To Install Your AC Unit To
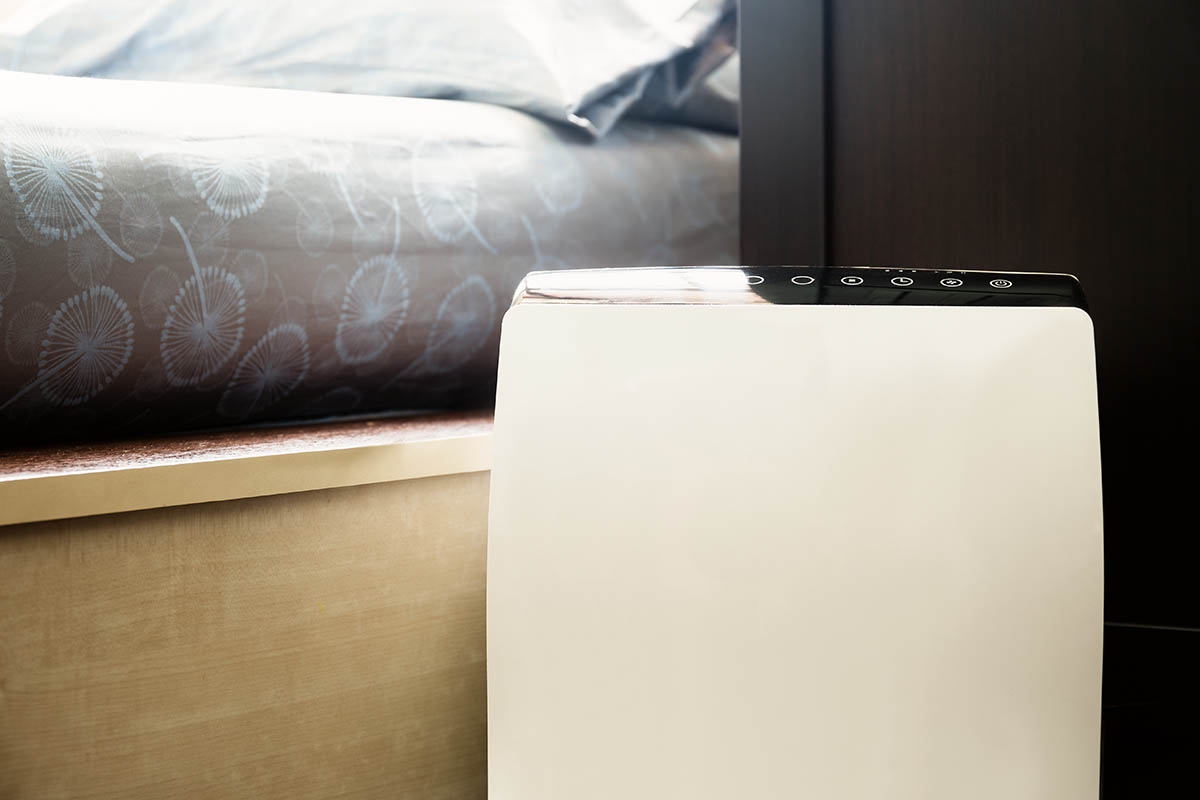
Find the best spot for your unit. It should be as close to a window and, if the layout allows, as close to an outlet as possible.
You want to cut down the space between socket, unit, and hose, making sure the hose is in the shortest, straightest position. Keep cables tidied away and ensure the unit is on a hard, even surface.
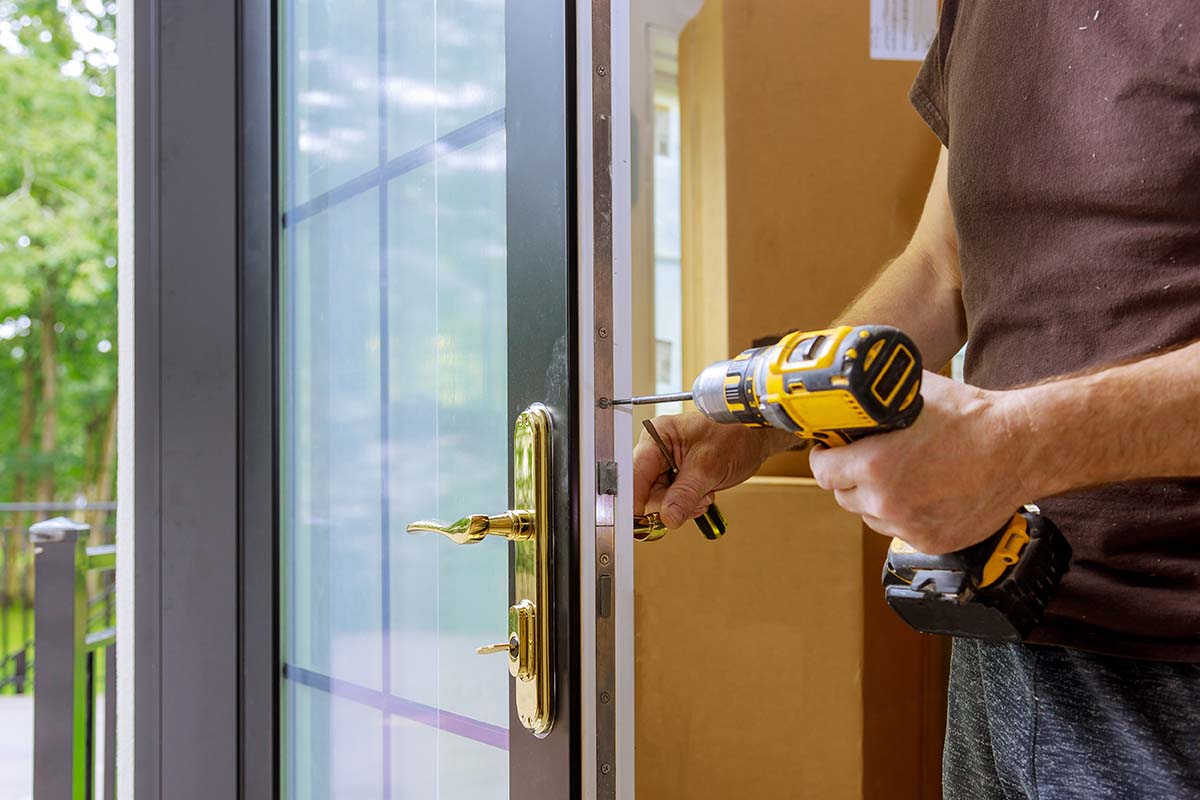
Install The Kit
Open your window and place the window bracket into the frame. If you have a vertical window, the bracket will go at the bottom and extend out until it fits the window’s width. You will need to extend upwards to the window’s height for horizontal sliding windows and then do your window adaptor to it.
Hinged windows are a little more complicated. You’ll most likely need to buy an aftermarket shield – ideally Plexiglass – cut to the size of the opening with a hole cut to fit the exhaust hose. Clip it in place with retainer clips and seal it to ensure no unwanted weather can leak through.
Attach Air Conditioner And Test

Once the window kit has been fitted, you need to attach the exhaust hose. This is where manufacturers differ on the installation process, so check the guide provided with your unit for the correct procedure.
If your unit doesn’t already have one attached, you may need an exhaust connector. As mentioned already, keep the hose as short and straight as possible. You want to leave between 18 inches and two feet around the unit for optimal circulation.
Affix the hose at either end with duct tape if you like, and make sure the window adapter is fully extended and sealed. Once you are connected up use the ‘test’ function on the unit to see there are no connectivity issues, and there you have it! Installing your portable air conditioner can be done with minimal fuss, so you can sit back and chill.