How to Use AutoCAD: Introduction
If you’re into making digital 3D models, then you’ve come to the right place. This is because the software that we are going to tell you about today is going to make your life so much easier as a designer. Today, we shall be talking about AutoCAD.
AutoCAD is software created and maintained by Autodesk, which is the software giant offering several other CAD and 3D modeling programs. These include the likes of Inventor, Revit, Maya, 3ds, Max, and Fusion 360.
Although it is pretty pricey, the first year is completely free for students and educators. After that, they too have to pay $1,775 per year to get the complete services of this program. Price apart, we are here to discuss the basics of AutoCAD and how you can use this software to your utmost benefit. Without stretching too much, let us now dive right into how you can use AutoCAD. Many people who use AutoCAD are old school, so they like to use the old version like Autocad 2007.
Understanding the Interface
The first significant step to know while using AutoCAD is to familiarize yourself with the interface. To begin a brand new project, you will click on “Start Drawing,” and this, as you must’ve known by now, is the main working screen of the software, and here, all 2D and 3D designing is going to take place.
The main components in this area consist of the following: Quick Access Toolbar, Ribbon, Command Bar, and Orientation Tools. These will be the tools that you will be using the most apart from the usual “Open” and “Save” options. Other tools like View Cube and NavBar will be told to you later as you get hands-on practice with the software.
Basic Orientation
We have the View Cube, which is present in the top-right corner. This is set on the top view by default as you open the software. If you move your cursor over the cube, you will get a small symbol of a house. You can click on this to get an isometric view.
You shall now be seeing a 3D Cartesian coordinate system present in the middle of your crafting space. It has three axes and the View Cube, which has a changed position overall. The interface of the View Cube now has faces, edges, and corners with the desired view.
The NavBar also contains several other orientation tools usually used for CAD software. Although most users prefer mouse shortcuts, these tools can also be used. You can then hold down the wheel button and move your mouse around. You can easily click on the “hand” icon in the NavBar.
After holding down the Shift key along with the mouse wheel together, instead of panning over, you shall be orbiting around the drawing area in the center of the coordinate system. The NavBar also contains an Orbit button. Now that we are done covering the orientation of the drawing space, we shall now look into the 2D sketching part.
Sketching
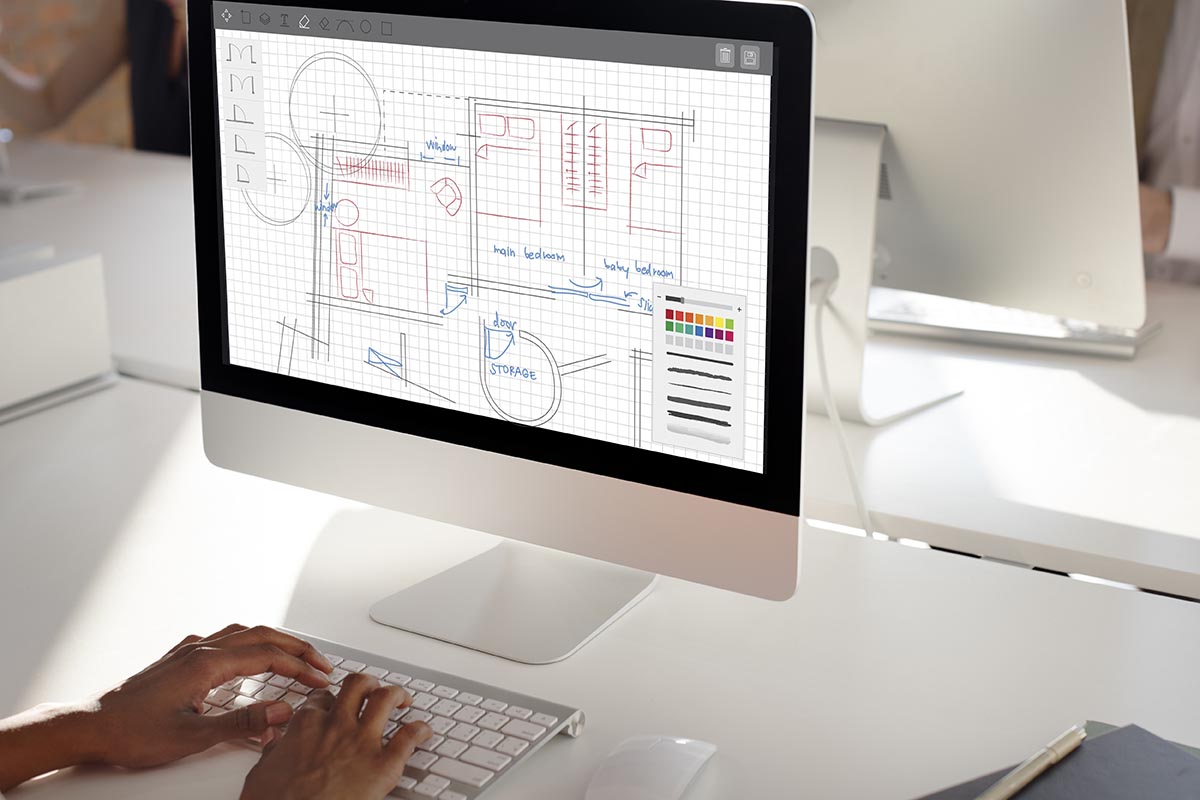
Sketching includes snapping, drawing lines, and selecting different kinds of objects. Before going into the snapping procedures of 3D objects, let us look at 2D sketching. This software is known explicitly for drawing floor plans, layouts, and entire mapping of landscapes. Hence, the snapping feature is an essential tool in AutoCAD.
If you have issues entering the coordinates, you can try toggling the “Snapping” button. A good technique would be to use Grid and Object Snap one after the other. This is a valuable tool that will help draw sketches in less time and prevent your drawing from having holes of any kind.
As for drawing lines, you can select the line command on the Ribbon or type in “line.” Using AutoCAD, you can type in the first letters of any command, and then the software will automatically complete showing the available orders. Once the command lines are entered, you will be told to specify a starting point. You can now click randomly or enter any coordinates that you like manually.
Selecting objects allows you to select the objects you have drawn after simply clicking on them. You will unselect after holding down the Shift button and then click again. After left-clicking and moving the mouse button from left to right, you can select multiple objects.
Apart from the features mentioned, other features present in AutoCAD are drawing shapes, spline, trim, and mirror. As you make use of a few features, you will have an idea of the other features you can use.
3D modeling
Finally, 3D modeling is the ultimate goal of AutoCAD because everyone can end up making 2D structures. 3D structures are what you need to be good at if you’re working with this software. In 3D modeling, you can create basic shapes, change visuals, carry out solid modeling, extrude shapes, revolve, and loft them.


