If you’re like many homeowners, nothing feels quite as satisfying as tackling home DIY projects and repairs – except when the repair you have in mind is too big or complex for you to take on yourself.
To prepare your home for any necessary repairs or upgrades, a few key steps need to be taken, such as gathering supplies and tools, ensuring safety measures are met, and getting correctly organized. Here are eight essential tips for preparing your home for repairs.
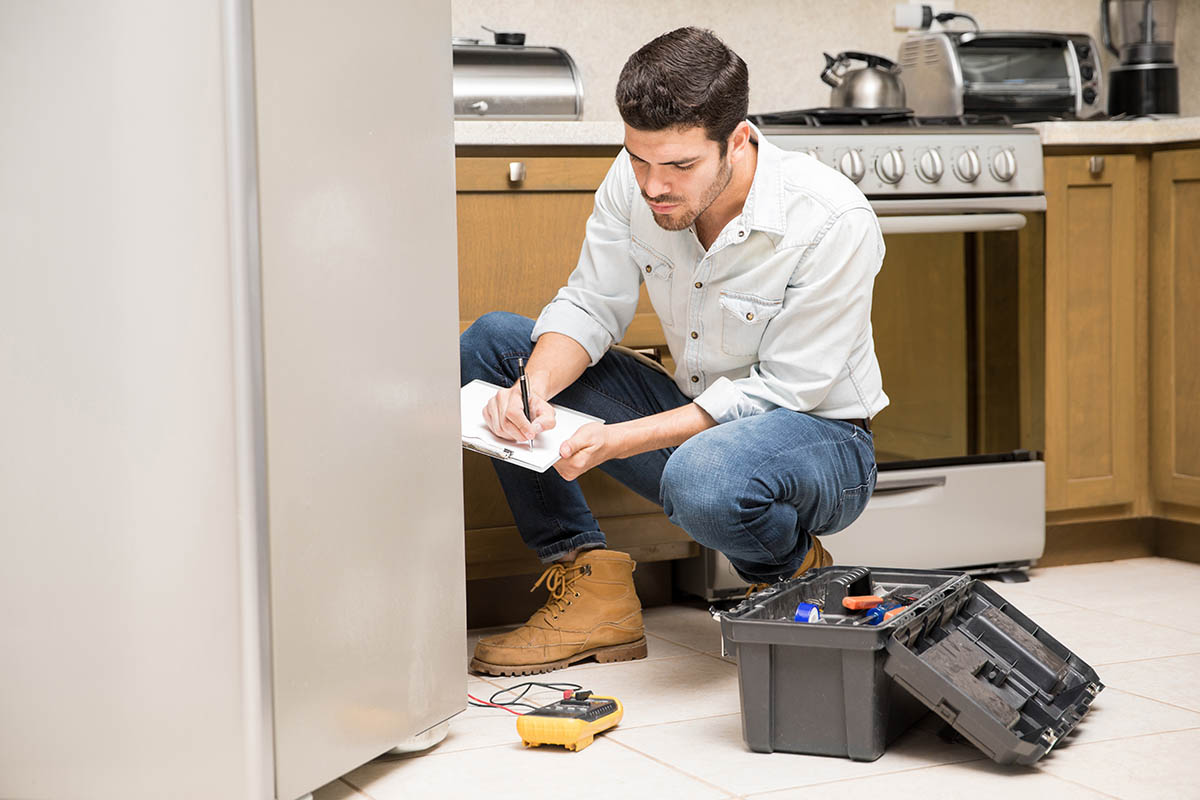
Preparing Your Home for Repairs: Work With Professionals
If your home repair requires professional assistance, make sure to select contractors and tradespeople that have the right credentials and ensure they are licensed. Ask for references and read reviews to ensure a job well done.
For example, you can find window glass repair in Aurora if you live in the area and need assistance with related issues. Also, window repair can be dangerous, and therefore it’s important to make sure the job is completed safely. It’s also essential to get written estimates from the contractors and ensure the work is insured if it’s done by tradespeople.
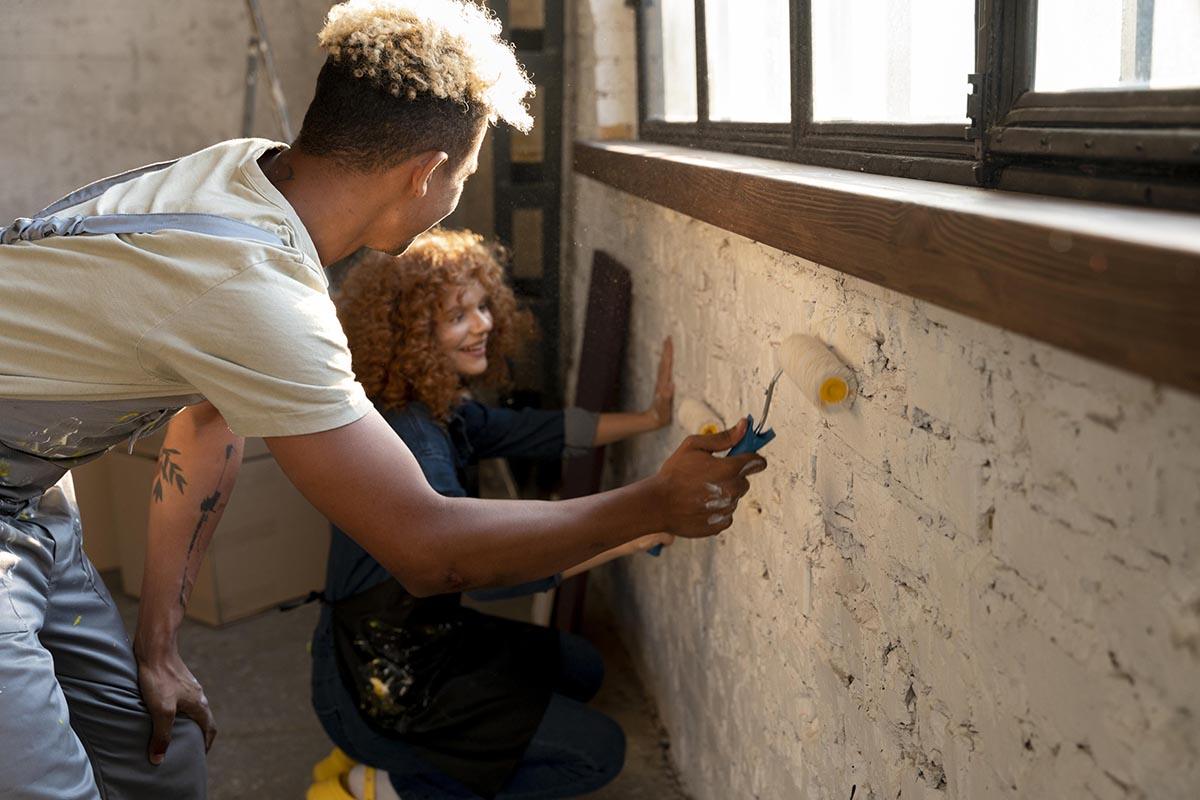
Gather Supplies
Before the repairs begin, ensure you have all the necessary supplies to avoid any delays. Depending on the project at hand, this could include painter’s tape, sandpaper, a drop cloth, and other materials. Check with your contractor beforehand to understand what will be needed so there are no surprises when it’s time to start work.
And don’t forget basics like a ladder or stepladder if you’re tackling high projects. I’ve seen my fair share of DIY disasters due to inadequate preparation! Having these items ready can help get you off to a good start and keep things running smoothly.
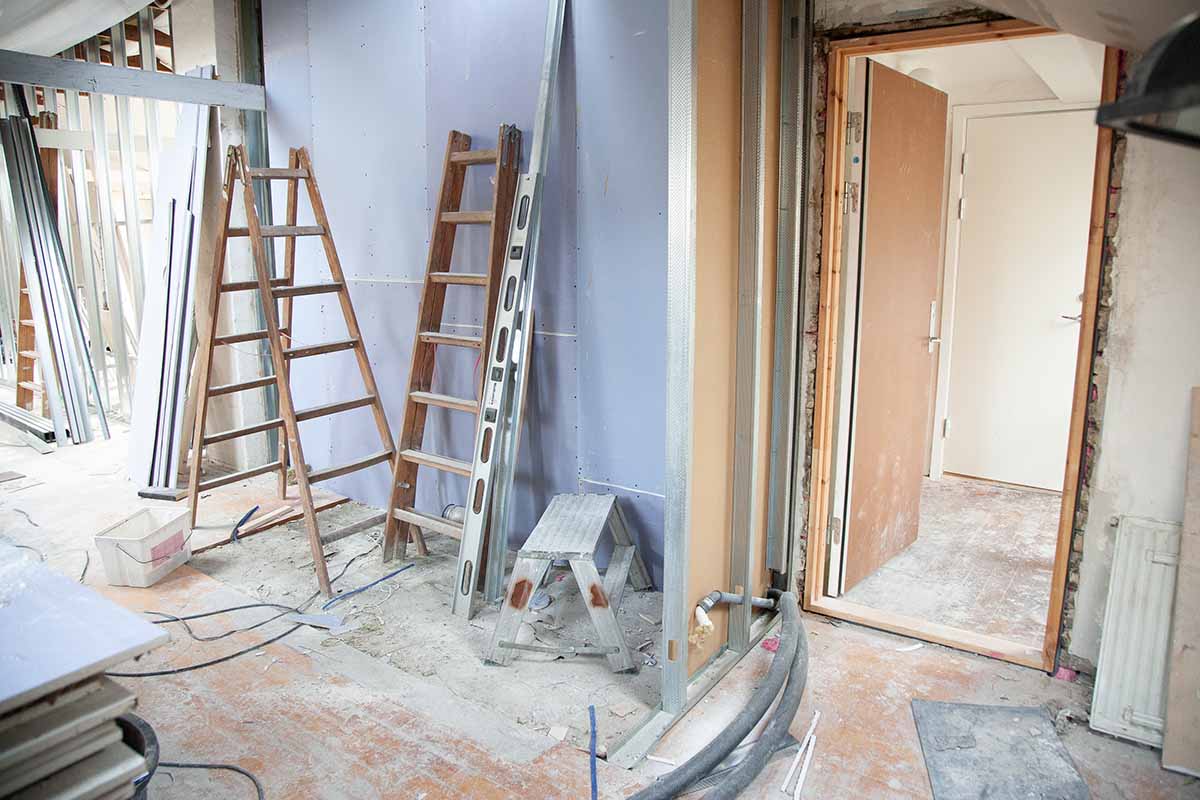
Clear the Area 
Before any repairs can be done, it’s essential that you clear the area of furniture and debris. If possible, move all furniture to another room or at least out of the way so the contractor has easy access. Any rugs that could get in the way should be rolled up and stored away as well.
If your repair involves a ceiling, ensure ample space around it for ladders and other equipment. Clearance also ensures that your repairman has enough room to work without damaging items in your home. Doing this step ahead of time will help save time during the repair as it provides easier access to all areas involved in the project.
Cover Items You Don’t Want to be Damaged
It’s a good idea to cover or move any furniture or items you don’t want to be damaged during the repair work. If possible, try to move any kind of fragile items out of the area where the repairs will take place, including art and other decorations.
Consider using protective sheeting to keep dust and debris from entering other areas. If there is any significant furniture in the room, it might be best to leave it there but cover it with tarps or plastic sheets before starting your repairs. This is especially true if you have an extensive remodel done on your home.
Invest in Safety Gear
It’s essential to protect yourself when conducting home repairs, no matter how small the repair might seem. Invest in safety glasses, gloves, and a dust mask to protect you from harm while working.
If there is a risk of falling objects or dangers like electrical hazards, it’s also important to invest in a sturdy ladder and use caution when working on elevated surfaces. While performing the repair, it’s also a good idea to wear old clothes and shoes to change if needed easily.
Make Sure Your Repairs are up to Code
Before you proceed with repairs, ensure that the work is up to code and complies with local building regulations. This often means obtaining permits for larger projects, like roof repairs or electrical work.
Talk to your contractor about what needs approval and ensure they handle all of the paperwork ahead of time – failure to do so could cause problems down the road. It’s also important to keep copies of any permits and other paperwork for your records.
Decide on Your Payment Structure
Before work begins, decide on the payment structure with your contractor. The most common approach is a 50/50 split upon completion of milestones or a lump-sum payment when the project is finished.
Discuss which option works best for both you and the contractor to ensure everyone agrees and is on the same page. If any changes need to be made during the project, discuss these at length before signing any contracts or agreements so that both parties are aware of what’s expected from one another.
Take Before and After Photos
Your home repair projects are an investment, so document the progress. Before you begin any project, take photos of the room or area in question, and make sure that you document each step as your work progresses.
In addition to sprucing up your home album with before and after shots, taking photos throughout the project will help you keep track of everything for future reference. This can be especially helpful if something goes wrong during the process and you need to go back and double-check a few things. Taking photos also makes it easier to show potential buyers what has been done to improve the property when it comes time to sell.
By following these eight essential tips for preparing your home for repairs, you can ensure that everything goes as smoothly as possible and help reduce the time it takes to finish the project.
From ensuring all necessary permits are obtained to investing in safety gear, there are a variety of things to keep in mind when it comes to getting your repair work done. You can ensure that your repairs are handled professionally and without incident by taking the extra time to get everything ready.