Here are some tips to help you construct a DIY carport
There are more uses for a carport than just storing your car. That’s why you need one so badly! Here are some tips to help you construct a DIY carport. Mother nature is a “you know what,” especially when it comes to keeping your car clean. One way to avoid the bird droppings, rain splatters, and dead leaves that plague those without a garage? Building a DIY carport. But why search the internet for tips? Just read our step-by-step guide below!
Step 1: Level the Ground
Before you build a carport, whether you’re going for a sideless model or a freestanding building, you’ll need a flat ground. Before you do any digging, call your local government and ask for the number “before you dig.”
Every local home has the chance of being above sewer and power lines, which digging into can disturb. When you call this number, they’ll come out and mark these areas for free. You don’t want to dig a hole, just to strike a pipe in the middle of your plans. Once that’s done, you can move on to the second step.
Step 2: Decide Your Model
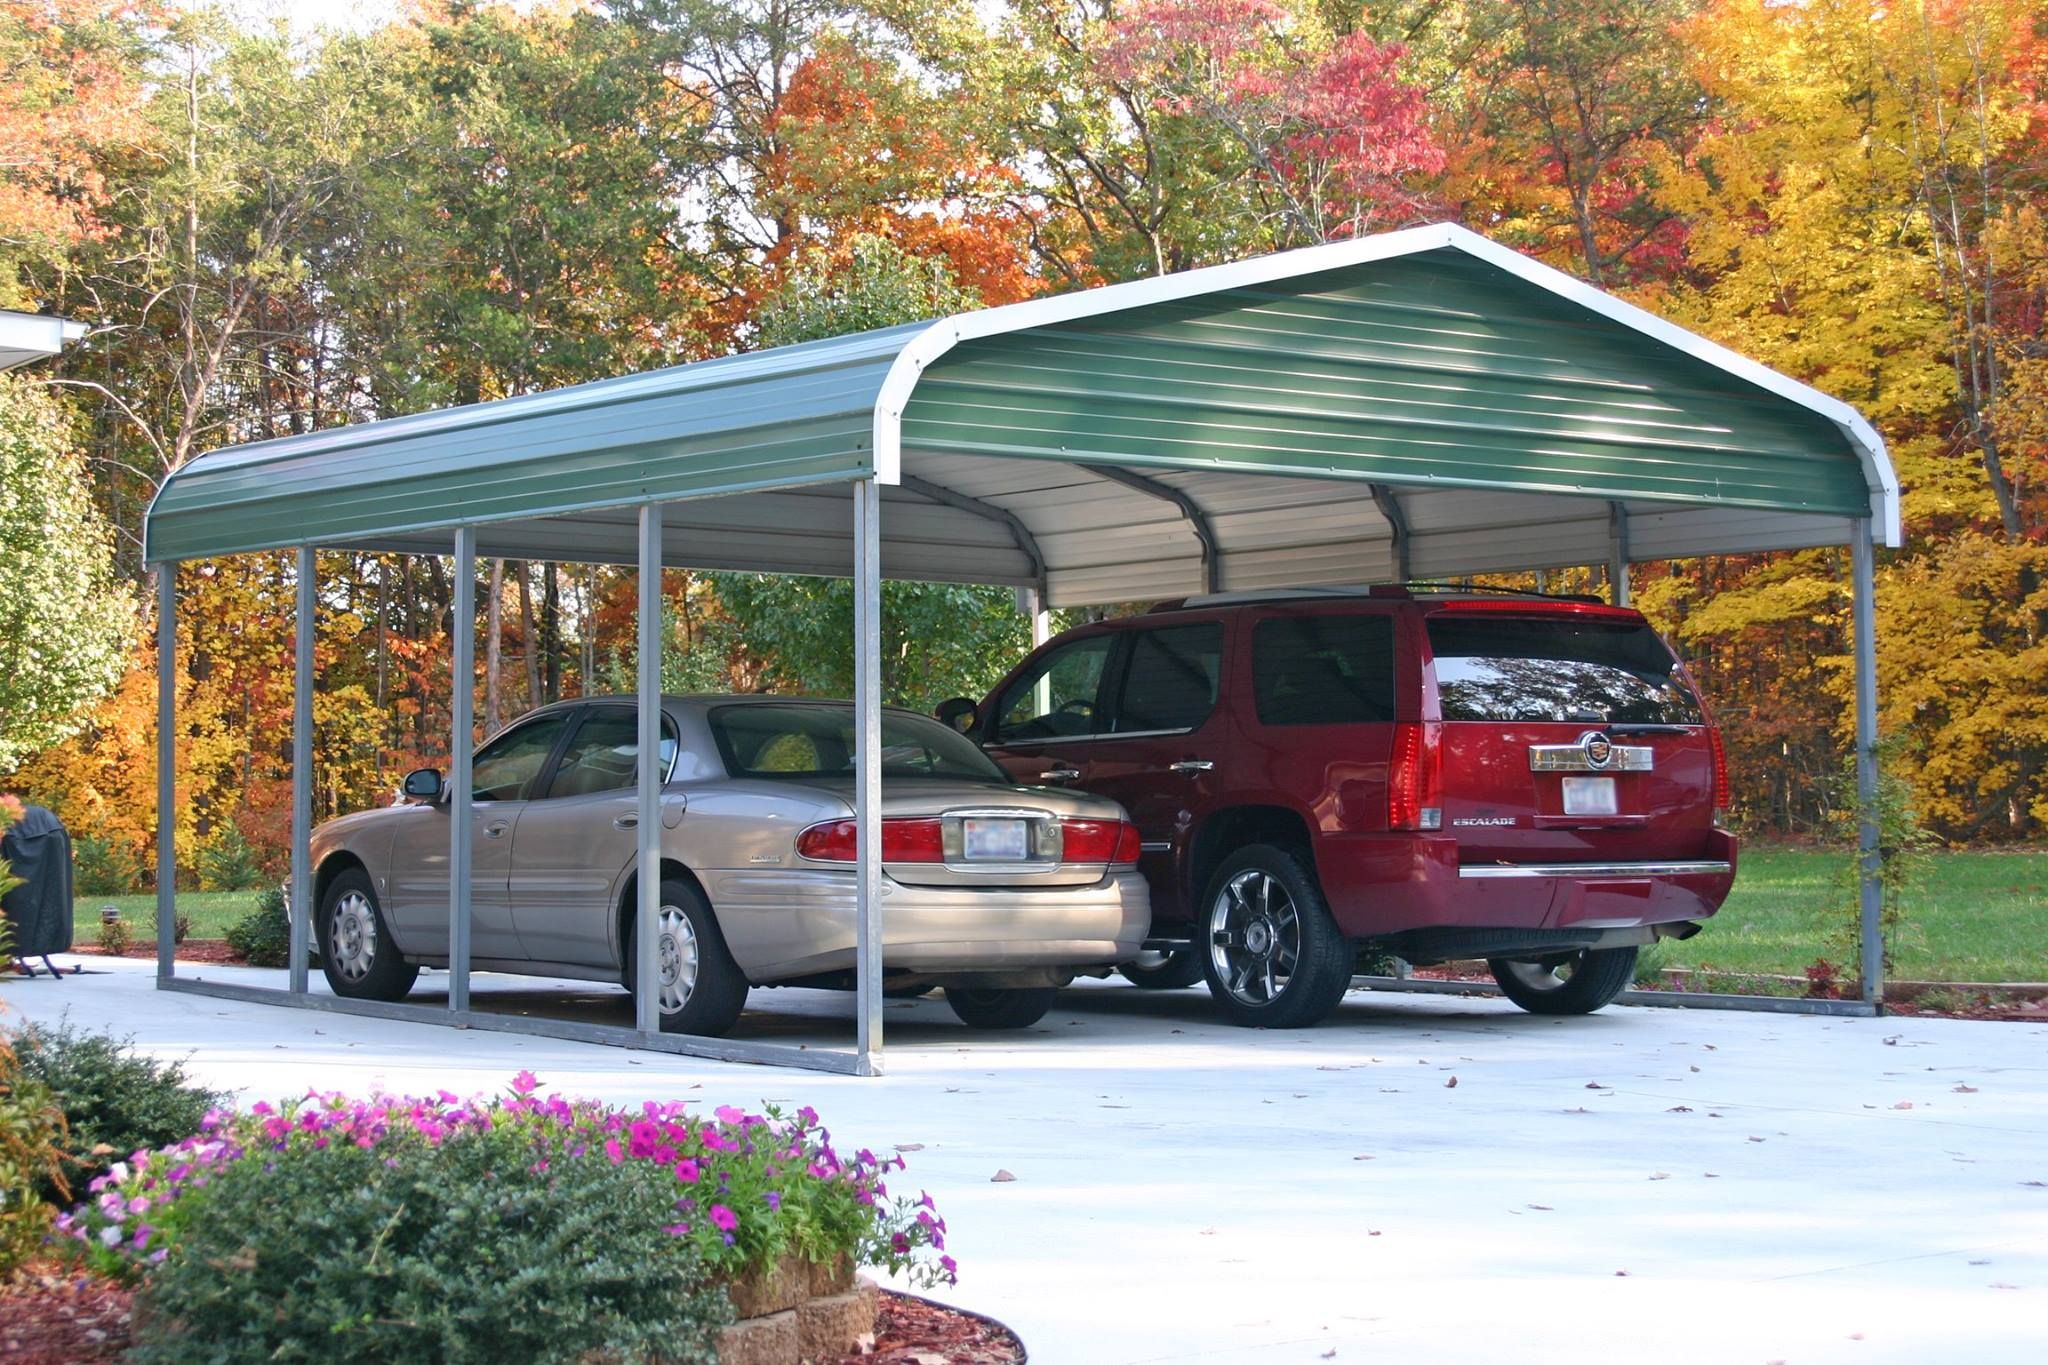
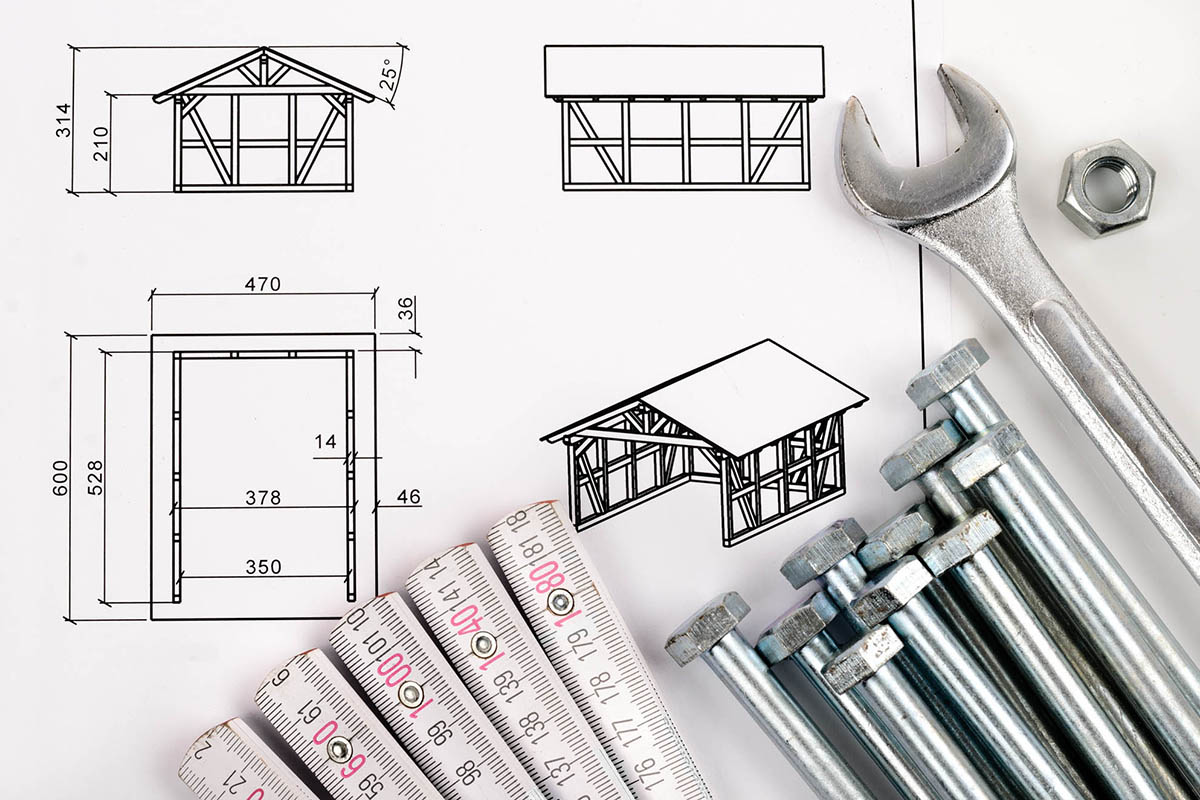
Once you have the clearance from the city to dig/build, you need to decide what model you want to use. Are you building something from the side of your house? Or are you building a free-standing structure? You can order pre-built carport kits or find free blueprints and plans online. There’s more info here.
Step 3: Gather Materials
Once you have your plan, you’ll need to purchase whatever you’re using to build it. For carports, that’s usually metal or wood stakes and some sort of roofing. If you’re using wood, you want to use pressure treated lumber. Especially in drier climates. Wood can get fussy with the weather, so make sure you’re buying the good stuff. You don’t want to buy the cheap stuff that will rot and eventually collapse down onto your car!
Step 4: Measure it Out
Once you have everything you need, measure out where you’ll make your structure on the ground. Is there any grass or small inclines you need to remove? Most of the time, this can be done with a shovel or a metal rake. If you need to flatten the ground, dig it out, then use something flat to tamper.
Step 5: Label, Label, Label
Once you have your spot ready, your materials, and your plans laid out, you want to label your materials. Give each section of the carport a letter on your plans. For example, the right support bean could be part a, the left part b, and so on. Take a sharpie and write the letter on the corresponding piece of hardware or wood. It’ll save you confusion later. Use small pieces of masking tape to label small pieces of hardware. This will help you keep everything organized and reduce mid-project runs to the store.
Step 6: Build the DIY Carport
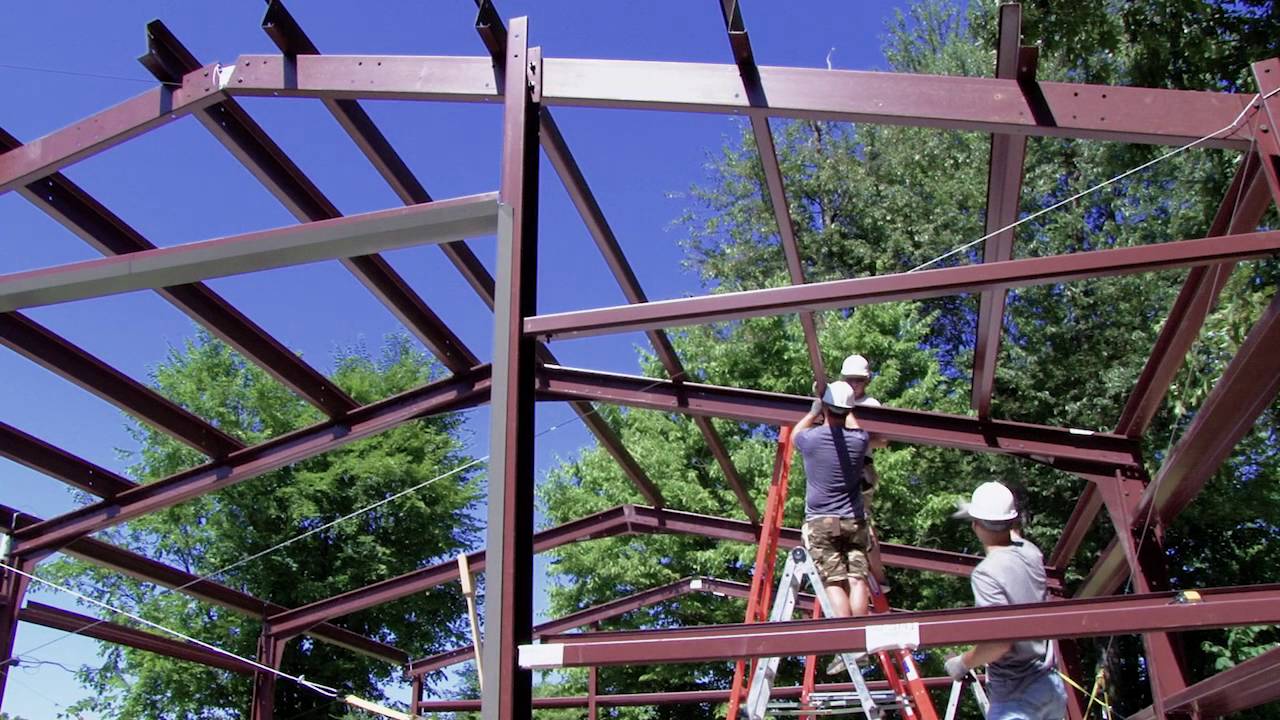
With everything purchased and in order, you’re ready to build. Don’t skip steps from your DIY carport instructions and make sure you double-check all weight-bearing areas. Follow the plans and voila! You have your very own carport. Take a picture, clean up the yard, and wash your hands. Then pull your car in and marvel at your work. You did it!