
Basic G-Code Programming for CNC Routers
CNC routers are widely used in the industry for precision cutting and carving various materials. To program these machines to create the desired shapes and patterns, G-Code must be used.
Learning the ins and outs of G-code can be daunting, but it’s a necessary skill for anyone using a CNC router. This blog post will cover the basics of CNC programming in G-code, from creating simple shapes to more complex ones. By the end, you’ll know enough to start building your projects!
What is G-Code, and what does it do
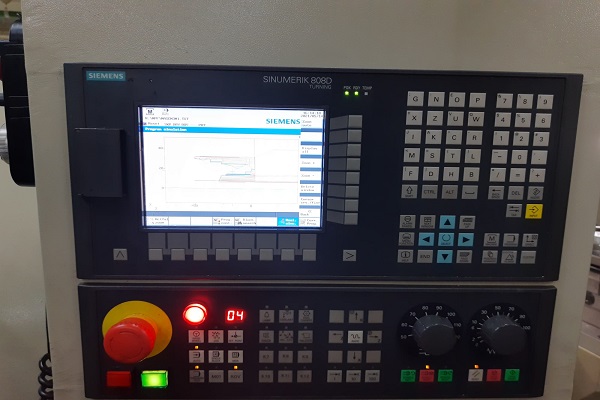
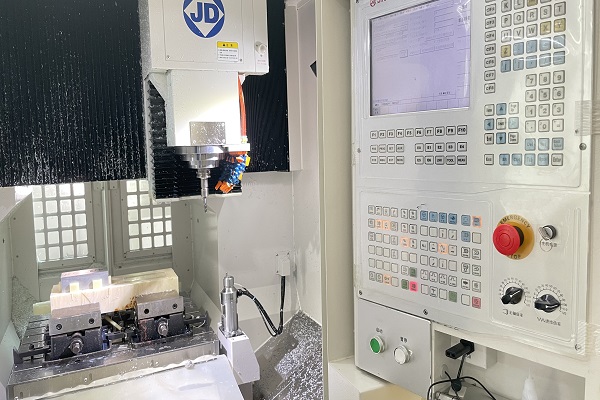
G-Code is a programming language that controls computerized machine tools, such as lathes, mills, and routers. Machines that can read G-Code instructions are able to perform a wide variety of tasks, such as cutting and shaping metal or plastic parts.
It is used mainly in computer-aided manufacturing (CAM) and 3D printing to create simple and complex shapes. G-code consists of commands understood by CNC (computer numerical control) machines or 3D printers. These commands tell the machine what movements to make, speed, and tool to use.
G-code can be generated by engineers or CNC (computer numerical control) programmers or used in conjunction with CAM (Computer Aided Manufacturing) software to create parts with precise dimensions.
When using a CAM program, the user inputs the desired task into the software, and the software generates the corresponding G-code. The G-code is then loaded onto the machine, which reads and executes the commands. The benefit of using G-code is that it allows devices to be controlled automatically, increasing efficiency and accuracy.
While G-Code is mainly used in industrial applications, it is also increasingly being used by hobbyists and DIY enthusiasts to create everything from simple signs and engravings to complex three-dimensional sculptures.
The different parts of a G-Code program
A G-Code program has three main parts: the header, the body, and the footer.
The header contains information about the program, such as the author, date, and machine type. This information is not essential for the execution of the code, but it can be helpful for reference purposes.
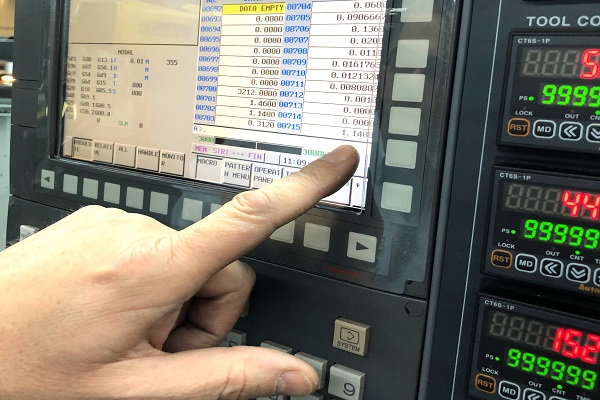
The body is where the actual commands are written. Each order must be on its line and must start with a capital letter. The most common commands are G (for motion), M (for miscellaneous), and T (for the tool).
the letter “G” instructs the machine to move in a straight line, while the letter “M” instructs it to act such as turning on a spindle. The number following the letter indicates the speed at which the machine should move or the specific action that it should perform.
For example, G01 would be used for linear motion, while M03 would turn on the spindle motor. In addition to letters and numbers, G-code programs can also contain symbols that tell the machine how to interpret the instructions. For example, a character might say to the device whether to move in inches or millimeters. By combining these different elements, G-code programs can be used to control a wide variety of CNC machines.
The footer contains information about how the program should end. This can include stopping the spindle, returning to the home position, or ejecting the finished part from the machine. As with the header, this information is not essential for executing the code.
How to create a basic G-Code program for a CNC router
Although there are many different variants of G-Code, most CNC routers use a subset of commands based on the original EIA RS-274 specification. If you’re new to CNC programming, creating a basic G-Code program can seem daunting. However, with a bit of practice, it’s not difficult to get the hang of the basics.
The first step is to decide what tool you’ll use and what motion you want it to follow. For example, if you’re using a drill bit, you’ll need to specify the drill bit diameter, feed rate, and spindle speed. Once you’ve decided on the tool and motion, you can start writing your G-Code program.
Each line of code consists of a letter (which indicates the command type) followed by a number (which specifies the value). For example, the “G” code for drilling is “G05,” which tells the machine to move in a straight line at a constant speed. The “F” code defines the feed rate, which determines how fast the tool moves; a lower feed rate results in a slower movement.
Creating a G-code program for a CNC router is relatively simple once you understand the basic concepts. Next, you need to determine the size and placement of the object on the material you’ll be machining. Once you figure out those two things, you can start creating your G-code program.
When creating a G-code program, the most important thing to remember is correctly to specify each tool movement’s X, Y, and Z axis coordinates. If you do not properly specify the coordinates, the router will not be able to create the desired shape.