A Complete Guide To Creating A Stunning Resin Art Masterpiece
Resin art is a relatively new and exciting form of art that has quickly gained popularity among hobbyists and professional artists. It’s a unique type of painting that uses resin as the medium instead of traditional oil or acrylic paints.
Whether a beginner or an experienced artist, this guide will help you start resin art.
Pick Your Colors
Creating beautiful resin art is all about choosing the right colors. Unfortunately, there’s no magic formula for picking the perfect colors. However, there are some things you should keep in mind to help you make your decision.
First, consider the overall mood you want to create with your piece. Do you want it to be light and airy or dark and mysterious? Once you have a general idea of the mood you’re going for, start thinking about which colors will help you achieve that goal. You may also want to choose colors that complement each other.
For example, if you’re using a lot of blues and greens, you might want to add a pop of yellow or orange to create contrast.
Finally, don’t be afraid to experiment with how pigments affect resin artwork! Sometimes, the best way to find the right colors is to start playing around with different combinations until you find something you like.
Choose The Right Resin
If you’re thinking about creating a resin art masterpiece, one of the first things you need to do is choose a suitable resin. There are two main kinds: polyester and epoxy. Epoxy resin is pricier, but it’s easier to work with. Polyester resin is cheaper, but it’s more challenging to work with, and it doesn’t have the same level of durability.
When choosing a resin, it’s essential to consider both the price and the quality. You also need to consider what you will use the resin for. If you’re using it for a decorative piece, you might want to choose a resin that has a clear finish.
However, if you’re going to be using it for a functional piece, then you might want to choose a resin that has a more robust finish. Whichever type of resin you choose, read the instructions carefully before you start working with it.
Prepare Your Surface
Before you start working with resin, preparing your surface is essential. If you’re not working on a pre-made piece, you must choose a mold or tray to pour your resin into. Once you’ve selected your mold, line it with wax paper or another release agent.
It’ll help to prevent the resin from sticking to your mold and making it difficult to remove your finished piece. You can also use a baby powder dusting to coat the mold’s inside. Once your mold is prepared, set it aside in a dust-free area until you’re ready to use it.
In preparing your mold, you also need to gather all the other supplies you’ll need for your project. It includes gloves, measuring cups, stir sticks, and any decorations or mica powders you want to add to your resin.
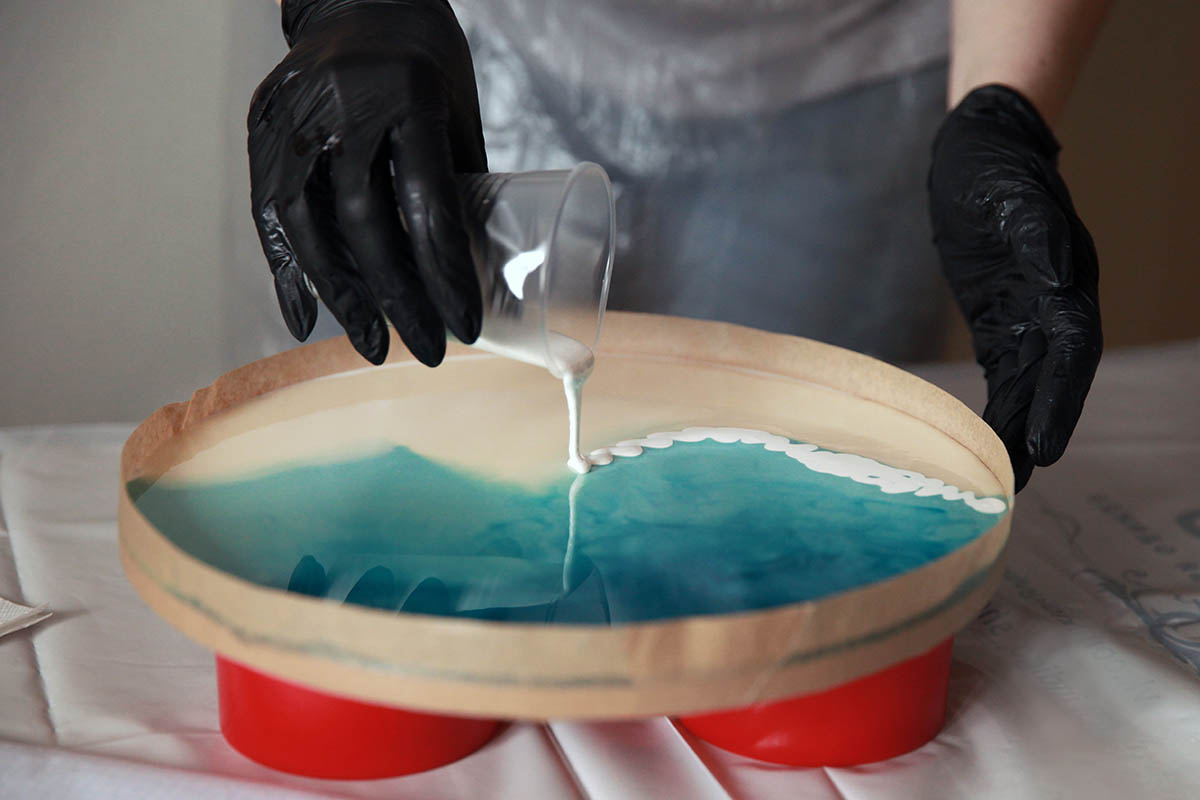
Pour Your Resin
Once you have all of your supplies gathered and your mold is prepared, you’re ready to start working with resin. Begin by measuring the amount of wax you’ll need for your project. If you’re working with a small piece, you can probably get away with using one ounce of resin.
However, if you’re working with a more significant piece, you might need to use two or even three ounces of resin. Once you’ve measured the resin, add it to a cup or bowl and stir it gently to mix it up. Then, add your mica powder or other colorant and stir gently to combine.
When you’re happy with the color of your resin, it’s time to start pouring it into your mold. Pour slowly and evenly, taking care to avoid creating air bubbles. If you make any air bubbles, you can use a toothpick or other sharp object to pop them.
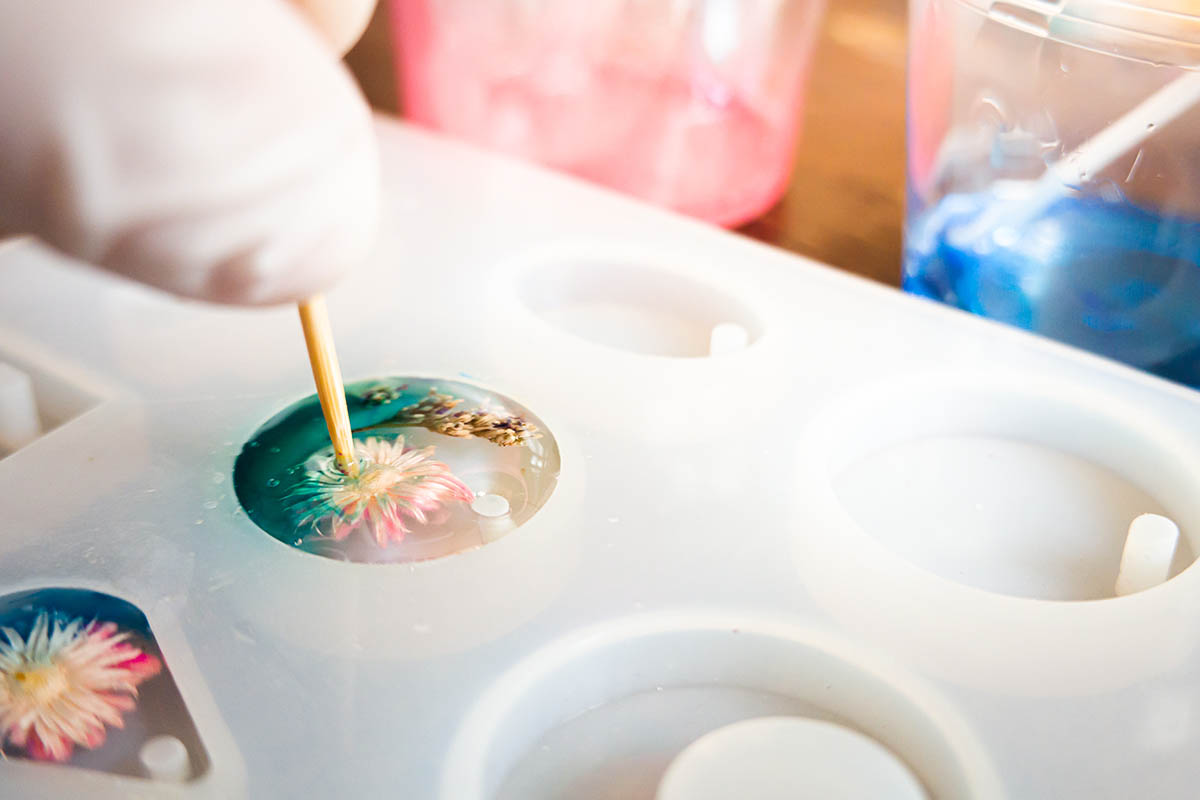
Add In Your Design And Cure
Now, it’s time to get creative! Begin by adding in your design elements. If you’re using molds, this is the time to press them into the resin. You can also add in things like beads, shells, stones, or glitter for a bit of extra sparkle. Once you’re happy with your design, use a popsicle stick or other blunt object to press everything into the resin gently.
Be careful not to disturb the bottom layer too much. Now is also the time to add final touches like paint or pigment powder. Set it aside to cure it overnight when you’re happy with your design. Once your epoxy or polyester resin is cured, remove it from the mold or tray and enjoy your new creation.
Takeaway: creating a resin art
Resin is a great way to create beautiful and unique pieces. However, it’s important to remember that working with resin can be messy and challenging. It’s essential to take your time and read the instructions carefully before you start working. If you’re patient and careful, you’ll be able to create stunning pieces that you’ll be proud of.