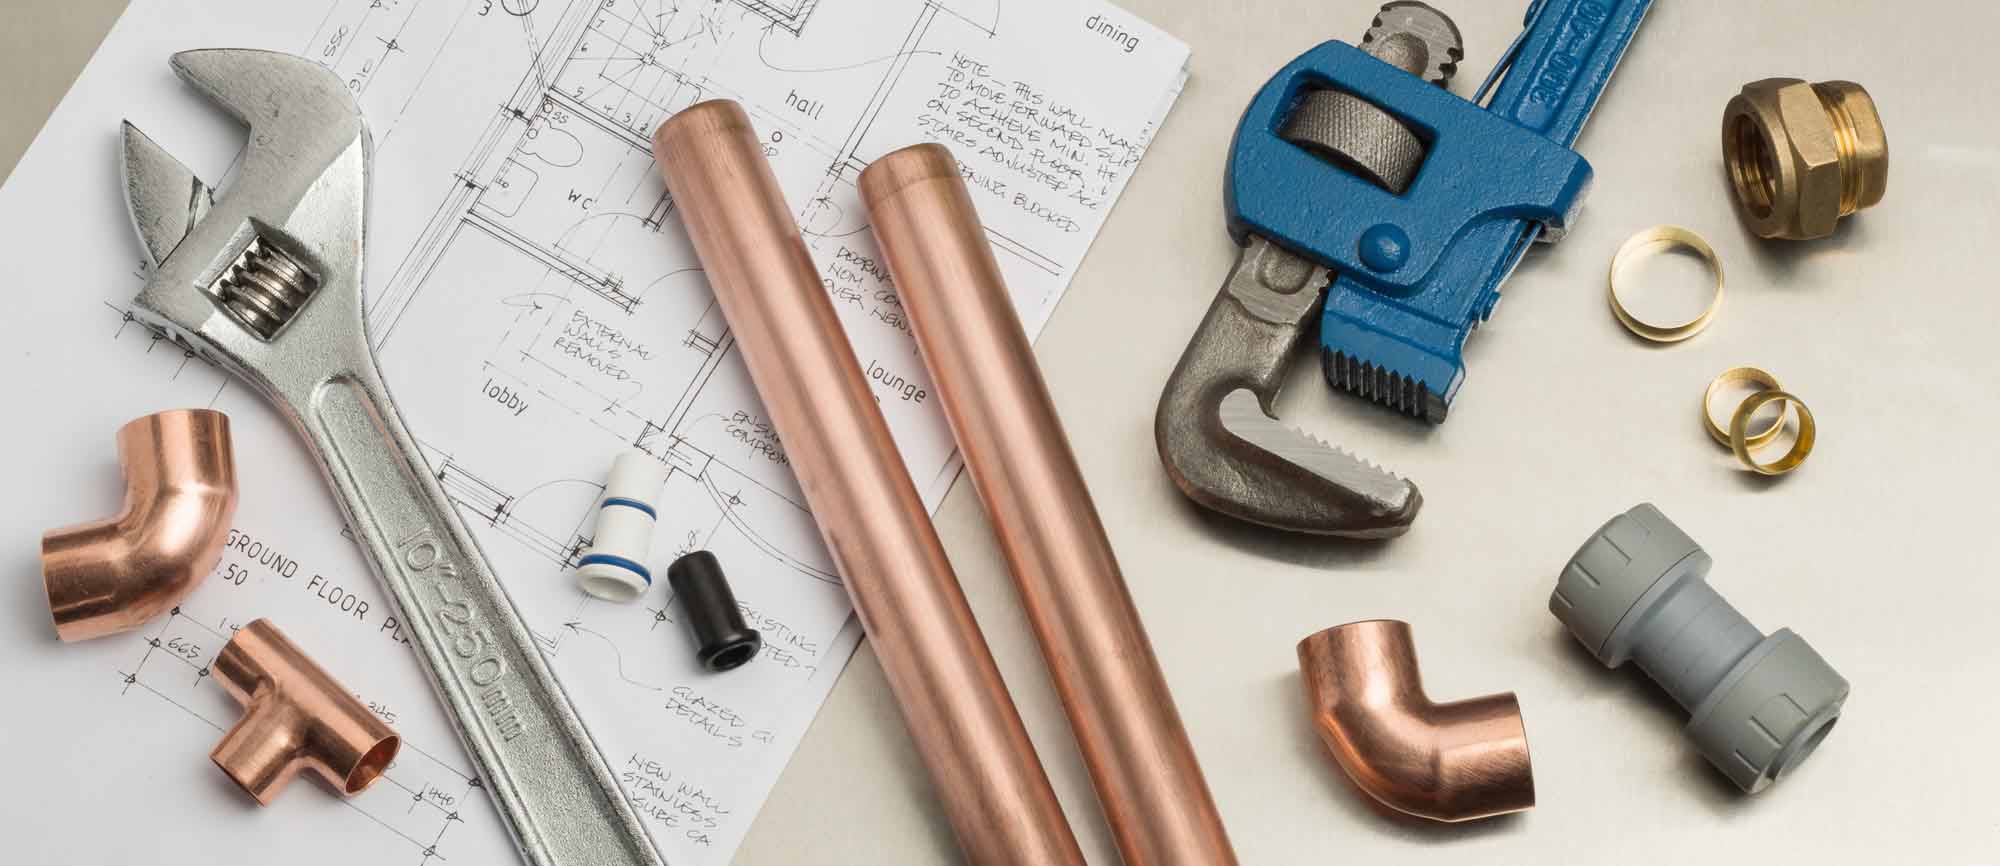
Essential DIY Plumbing Guide For Your Home
There’s a lot that goes into plumbing: pipes, fixtures, drains, and so on. So if you want to save money with DIY plumbing, here’s the only plumbing guide you’ll need.
You need to know how to choose the right plumbing materials and fixtures. Have you ever woken up in the morning, turned on the water to fill the coffee pot, and realized (slowly and sleepily) that your kitchen sink drain is clogged? Then, somewhere in your foggy thoughts, you get the idea that you can fix it
You have no idea why the drain is clogged or why the water heater leaking, but you’re pretty sure you can fix it. And then, after you’ve had your coffee, you go about fixing the clogged drain. Soon, your kitchen is a mess, and your drain is not fixed. Don’t know what to do? Here is your ultimate DIY Plumbing guide.
How to Prevent Basement Flooding
Basement flooding can be extremely stressful; however, with a keen eye and a few maintenance tips on DIY Plumbing, you can considerably reduce the risk of flooding. The trick is to prevent water from pooling near your home’s foundation.
Here are tips to prevent basement flooding:
Repair Foundation Cracks
Foundation cracks are one of the major ways through which water can find its way into your home’s basement. Regularly inspect your basement walls, foundation, and floors to prevent basement flooding. Use epoxy to fill any cracks you discover during the inspection.
Clean and Maintain Your Downspouts and Gutters
Clogged gutters and down Use downspout extensions or troughs to ensure downspouts are extended at least three feet away from your home’s foundation.
Proper Yard Landscaping
Your flower bed shape or your yard slope could also contribute to water damage. Water will easily collect around your house and find its way in if your yard’s slope directs water towards your house. Install a French drain or consider your lawn.
Inspect and Clean Sewers
Always inspect your sewers and clean your septic tanks regularly. Failing to schedule regular sewer inspections and septic tank cleaning exercises is one way of inviting havoc into your house.
Without proper maintenance, sewer backups, clogs, and overflows could easily occur.
Familiarize Yourself with Your Insurance
Consider flood insurance as well as additional coverage for sewer backups. Take time to go through your home’s insurance policy.
Install Window Well Covers
Window well covers offer protection for homes with below-grade windows.
Window well covers should be fastened securely and latched onto your house’s foundation.
How to Unclog Your Shower Drain
Since you’ll deal with some *icky material, it is best to put on some rubber gloves before starting the cleaning process. The first step to unclog your shower drain is to use a screwdriver to remove the drain plate. Be sure to set the screw safely aside to avoid losing it down the drain.
In some cases, you might be able to unclog your drain simply by reaching in with your fingers and removing the dirt and hair. If you still have a clog, you can take an old wire coat hanger and straighten it out, leaving only a small bend at one end to use as a hook.
Using the coat hanger, remove as much hair and dirt as you can from the drain. You can also buy a drain snake from your local hardware store and follow the instructions listed on the packaging. Last but not least, you can try using a wet/dry vacuum to draw the clog up and out of the drain.
Don’t forget to secure the drain plate back on the drain when you’ve completed the project.
Additional Tips
It is best to avoid pouring caustic chemicals down your shower drain. Not only can you burn yourself while trying to remove the clog if they fail to solve the issue, but you also have a bathtub full of caustic chemicals, and removal of the clog becomes that much more difficult. Prevention is always the best method to avoid clogged drains.
After every shower or bath, remove the excess hair and dirt that gathers around the shower drain and avoid disposing of dirty water containing large particles down your shower drain. Instead, once a month, consider pouring a pan of boiling water down the drain to dissolve gunk, or pour 1/3 cup of baking soda down the drain, followed by 1/3 cup of vinegar.
The chemical reaction between the baking soda and vinegar helps to break down gunk in the drain. Let it sit for at least one hour or preferably overnight, and then flush with hot water.
How to Take Care of Your Kitchen’s Drain
Kitchen sinks seem like they can handle whatever you throw at them: boiling water when you’re draining pasta, leftover cooking oil, and even leftover food when you’re rinsing off dinner plates before putting them in your dishwasher.
But drains, both with and without the disposal system, sometimes get backed up or damaged if you aren’t careful. Here’s how to avoid putting the wrong thing down your kitchen sink:
Throw Away What You Can
Coffee grounds used grease, and substantial bits of food shouldn’t go down your drain. If you’re in the middle of making a meal, set aside a disposable container to pour used oil into throughout the course of cooking. Once the oil cools, throw it away. Similarly, it would be best if you threw away coffee grounds or save them for your garden and mulch pile.
Cover Your Drain with a Grate
This will collect larger pieces of food and trash so you can tip the grate into your trash can instead of having to clean dishes over your garbage bin. A grate can also help stop rings or silverware from falling down the drain; there’s nothing more harrowing than trying to fish them out of garbage disposal.
Regularly Clean Your Drain
Whether you want to build up a weekly routine or want an easy set of steps, you can follow each time you empty the sink; cleaning your drain stops both oily build-up and odor. Rinsing the sink and drain with hot water is a good daily step, and pouring a bit of baking soda or vinegar (or a combination of both) down the drain with hot water will keep your drain even cleaner.
Three Things to Know and Do Before Your Toilet Breaks
The only good news about breaking down a toilet is that you’re aware of the problem pretty quickly. But knowing what problems are likely to happen and what parts of a toilet break down most often can help out in the middle of, and hopefully before, a plumbing crisis.
Here are three preventative tips to help you solve the problems of a breaking toilet.
1. Know How They Work
Like with cars or air conditioning, it can seem overwhelming when something goes wrong, and that’s large because we don’t always see how the system works. As a result, it looks like a complicated mystery, and it’s hard to know where to start. But if you know the basics of how a toilet works, especially the moving parts in the tank, you have a head start figuring out what’s wrong, and if it’s a problem, you can fix it.
2. Know How to Turn off the Water
Most water-related fixtures in your house have their own water valves. This includes your water heater, washing machine, sinks, and toilets. If your toilet is overflowing, one of the best things you can do to calm the crisis is to quickly and safely turn off the water.
Look behind the toilet for a handle attached to the pipe that goes straight into the wall. It usually looks like a pointed oval. Rotate it slowly and smoothly to shut off the water.
3. DIY Plumbing: Regularly Turn off Your Water Supply
Sometimes the water shutoff valves throughout your house get too tight, or sediment from hard water can start to build up. Turn the shut-offs once every six-twelve months, so they work smoothly in an emergency. If the valve is hard to turn, loosen it with a bit of W-D 40 instead of pulling harder and risking damage to the valve.
Tips to Keep Your Toilet in Good Shape
Toilets are often the most used fixture in a home, and if they are not properly used and maintained, they may also be one of the messiest fixtures in a home. Maintaining a toilet is hard if you’re not a plumber, but here are a few tips to help keep your toilet in good shape.
Clean Your Toilet Regularly
Easy enough, right? Cleaning the toilet is hygienic, but it will also help you find any leaks or problems wrong with or around the toilet.
Clean Your Toilet Regularly
Regularly take the lid off of the tank and inspect the components inside to function properly. For example, the fill valve should stop the water at the appropriate level, the flapper should be sealing well, and there should be no cracks or leaks coming from the tank.
Only Flush Human Waste and Toilet Paper
It is essential only to flush human waste or toilet paper down the toilet. All items that are flushed down a toilet have to go somewhere. These items can stick to pipes and clog your plumbing system or even cause problems in a sewer system. So it could save you big money down the road by only flushing toilet paper and human waste.
Call a Plumber If You’re Not Sure About Something
It is okay if you are not sure about a toilet problem. However, a continually clogged toilet or backed up with dirty water is a problem that requires professional experience. Always contact plumbers in Toronto for any serious issues.
DIY Plumbing Guide
Most homeowners know it is time to call a plumber when a toilet becomes clogged, something starts leaking, or their sink backs up. But how can you solve these problems yourself? Fortunately, this plumbing guide gives you early signs you can be on the lookout for indicating. It can also help you solve problems with your home’s plumbing before these problems become more serious.