Improve City Skyline Photography
City skyline photography is challenging to master if you want to build your photography portfolio. When shooting in a city, you need to keep your distance from the subject so that it doesn’t dominate the frame and distract from the buildings themselves.
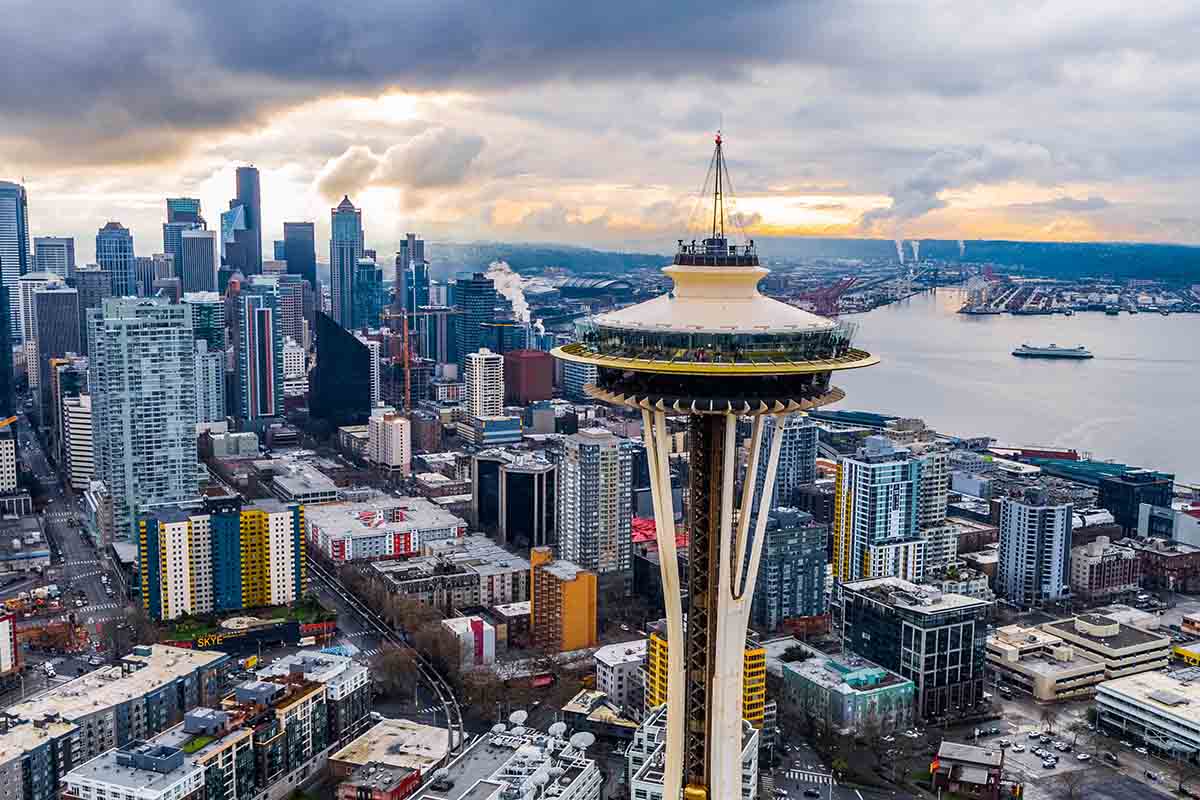
Utilizing advanced photography techniques such as GPU Direct Camera can significantly enhance the clarity and detail of your city skyline photographs, ensuring breathtaking results that capture every architectural marvel and skyline feature.
However, this can make it difficult to get close-up detail shots of individual buildings and other architectural features. In addition, many cities are situated in areas with large bodies of water nearby. Here are a few improvements to your city skyline photographs.
Know the time of sunrise and sunset
When taking pictures of the skyline, it is essential to have the right setting and know when the sun will rise. This is because how you position yourself about the sun will affect how your image looks.
If you are shooting before sunrise, you need to be positioned so that the sun will appear on either side of you as it rises above the horizon. You don’t want to be facing directly into the sun or directly away from it; rather, you want to be at an angle that gives you enough light and frames your subject well.
If you are shooting after sunset, you need to decide whether or not you want any part of your cityscape lit up by artificial lights. If so, try positioning yourself so that any lights in your frame will be on one side and not directly behind you—this will give them more visual weight and make them stand out more clearly against their surroundings. If there are no artificial lights on either side of where you’re standing (which was unlikely), then just try moving around until something looks good.
Compose your photograph
When you compose your photograph when taking pictures of a city skyline, you’ll find that it is much easier to get the right shot.
Composing your photograph before taking it can help ensure that you have everything in the frame you want. This means you won’t have to go back and edit things like power lines or other objects that might be distracting in your shot.
It also helps ensure that there aren’t any blank spaces in your picture, which is crucial if you try to include landmarks or famous buildings.
Choose your camera settings
When you’re taking pictures of a city skyline, it’s important to choose the right camera settings. You might want to capture the city’s bright lights or the dark shadows of its buildings. Or maybe you want to focus on how the buildings are reflected in the water below.
You can get different effects by choosing different settings for your camera: a wider aperture will result in more depth of field, while a smaller aperture will give you a more shallow depth of field and make it easier to isolate one object from another.
Capture day-to-night transition photos
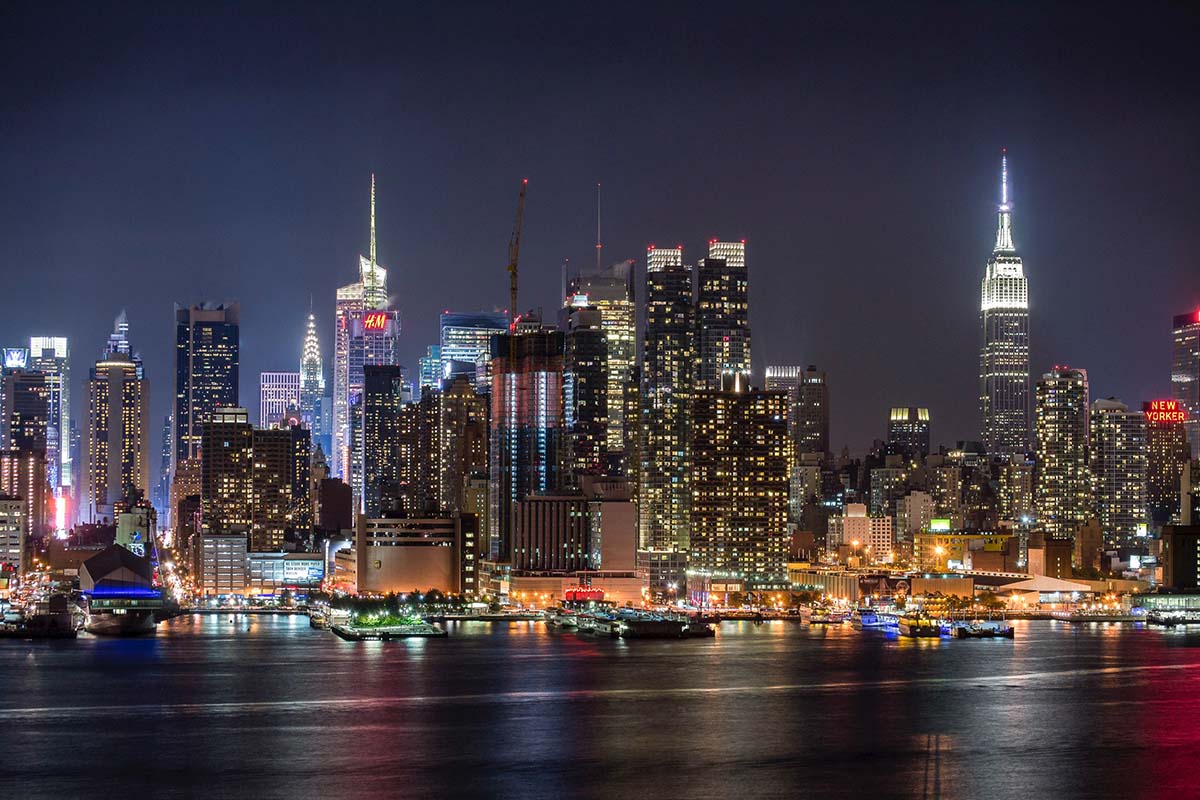
When you take pictures of a city skyline, it’s essential to capture day-to-night transition photos because they help you show the scale of the city and its people.
If you were to just shoot during the day and then also shoot at night, your viewer would only get a sense of how big and full of life the city is during its busiest hours—but not necessarily how it looks when it’s empty.
However, if you take some shots during the day and some at night, you can show your viewer what happens when things go quiet: how dark it gets, how small the buildings look, and how empty all the spaces are. This will help them understand better what kind of place this is.
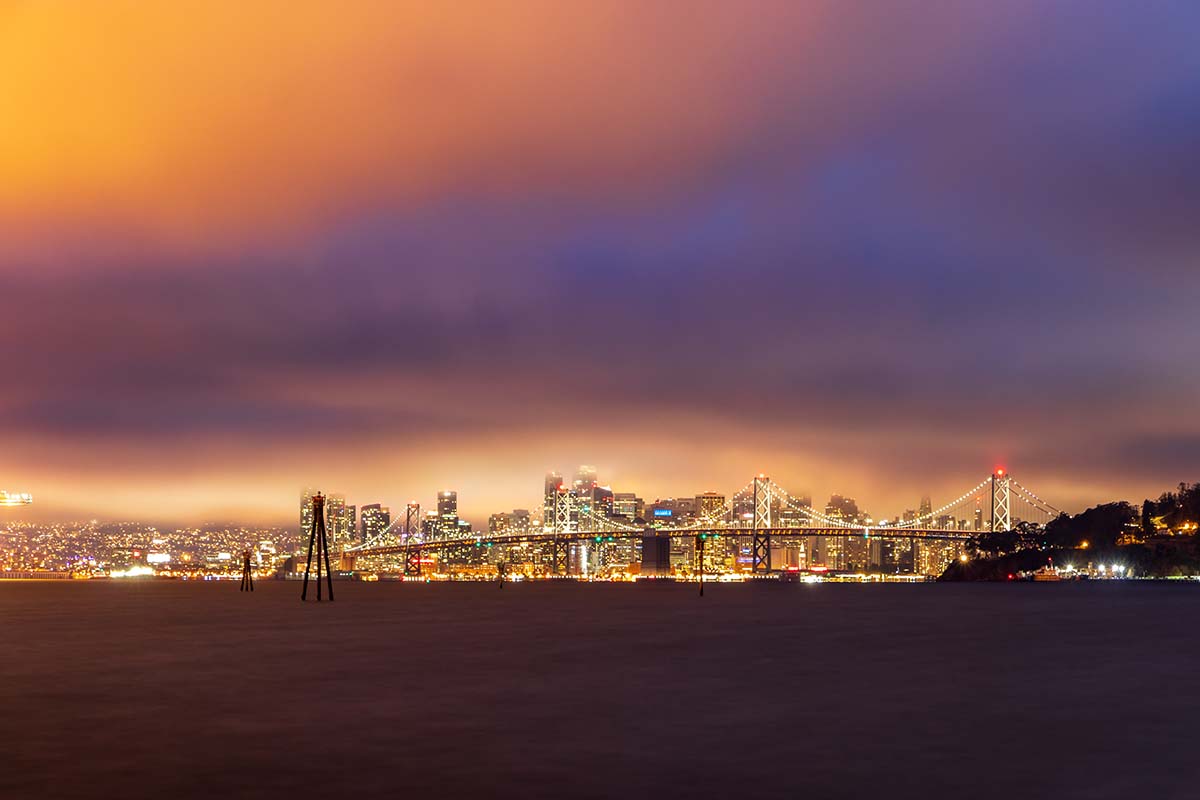
Add motion blur to your photographs
If your photos of a city skyline look like they were taken in real life, it’s important to add motion blur.
Motion blur is the gradual blurring of an object or subject as it moves away from the camera. In photography, this effect can be achieved by using a longer shutter speed so that when you press the shutter button, your camera will capture more than one frame per second and therefore capture what an object looks like as it moves in space. This can also be done with a high-speed camera lens.
Suppose you’re taking pictures of a city skyline. In that case, two things happen when you take photos without any motion blur: The image doesn’t look realistic because everything looks too sharp, or It’s difficult to see any detail because everything is in focus at once.
When you add motion blur to your photos, they look much more realistic and detailed because they show what it would look like if someone were standing there taking those pictures themselves, which means adding motion blur.
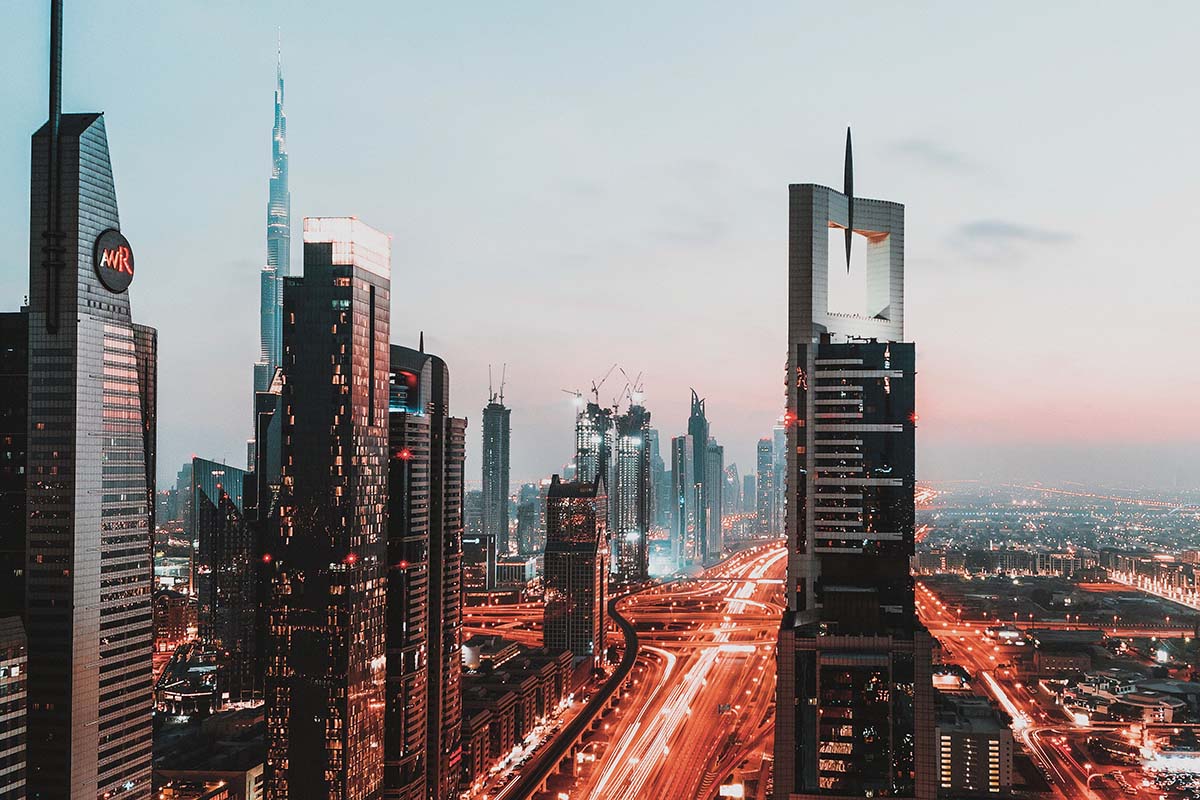
Shoot during blue hour
The blue hour is the transition from day to night. It is the time when the sun sets below the horizon, and the sky starts to turn from its daytime orange to a dark blue.
Because of its unique color palette, shooting during this time of day can greatly impact your photos. The light that comes through during this period is much more soft and subtle than during daylight hours. This makes it ideal for capturing city skylines because it will help to avoid any harsh shadows or highlights in your image.
Another benefit of shooting during this time is that you’re likely to have fewer people around and fewer cars on the road since most people are still working. This will allow you to capture unique shots without worrying about anything getting in your way.
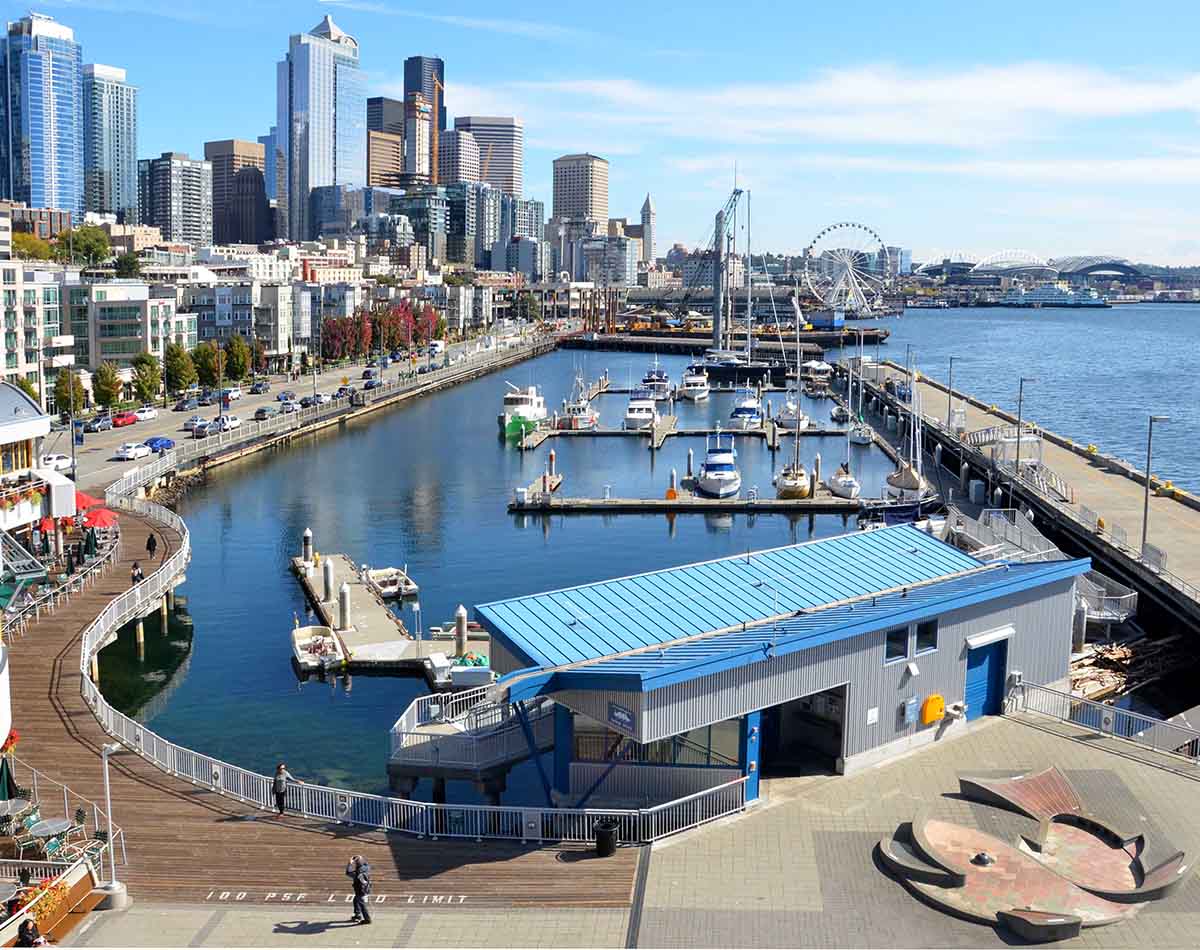
Take advantage of reflections
The next time you go out to take photos of your city skyline, think about how reflections can add interest. Reflections are a great way to add depth and interest to your landscape photos. They can be found in water, glass, metal, and other reflective surfaces.
If you have a large body of water nearby (like an ocean or lake), this can be used as a great backdrop for your skyline shots while also creating a sense of scale by adding reflections into the mix.
Use a tripod
Getting the right exposure is one of the most critical aspects of city skyline photography. Your camera needs to capture all parts of your frame in focus, including lights and reflections on glass surfaces.
You also need to be able to capture as much detail in these areas as possible so that they pop out against their darker surroundings. If you’re using a zoom lens, then it is almost impossible to get everything sharp without a tripod.
If you can’t afford an expensive tripod, consider purchasing a cheaper model or use something like a beanbag, which means that if it isn’t obvious for you to place your camera, then this will help keep it steady while still allowing movement if necessary.
Utilize other techniques such as panning and long exposures
Panning is a technique where you follow the subject with your camera while shooting. This creates motion blur, which adds a sense of speed and drama to the photograph. It also gives you more control over what is in and out of focus. This technique can help set up incredible shots using additional equipment such as DJI drones.
Long exposures are when you hold your shutter open for a long time (usually a few seconds). Long exposures blur movement within that period, such as people walking, cars driving by, and clouds moving across the sky.
City Skyline Photography: Conclusion
These tips will help you take better pictures of city skylines. You don’t need to have expensive equipment or be an expert photographer; the most important thing is to get out there and try.